A blueprint script to control the LED notification bar on the Inovelli Blue Series Switches. This is based on the Inovelli Z-Wave Red Series Notification LED script.
Features
- Creates a script that can be reused for any supported Inovelli switch
- All parameters are passed when calling the script rather than during configuration
- Select one or multiple devices, entities, floors, areas, and/or labels with Inovelli switches
- Selectors for LED Number, Color, Brightness Level, Effect, and Duration
- LED Number, Color, Effect, and Duration can accept direct values or the “friendly name” listed in the dropdown
- Debug info to diagnose issues
- Warning: Debug mode will create a persistent notification for every entity called plus 1
Requirements
- Zigbee2MQTT
- For ZHA, there are a couple of options:
- @nwithan8 ZHA - Inovelli Blue Series 2-1 Switch LED Notification Script
- @diegomorales17 ZHA - Inovelli Blue Series Animated Notifications to single or multiple switches simultaneously!
- For ZWave, check out @kschlichter’s Control LEDs and LED Effects on Inovelli Black, Red, and Blue Devices by Floor, Area, Group, Device ID, or Entity
- At least 1 Inovelli Blue Series switch added to Zigbee2MQTT and is controllable in Home Assistant
- Supported Switches:
- Inovelli 2-in-1 switch + dimmer (VZM31-SN)
- Inovelli Fan Controller (VZM35-SN)
Changes
Follow Re-importing a blueprint to update
Expand to view
2025.1.0
Fix compatibility for Zigbee2MQTT 2.0
- Add updated model names in z2m 2.0
2024.10.0
Fix Area and Device Labels
- Add area and device scanning for labels
2024.8.0
Payload Template Deprecation
- Change
payload_templatetopayloadinmqtt.publishcall
2024.4.0
Floor and Label Support
- Add support for Floors and Labels
- Use device identifier instead of device name for Z2M
- This should fix needing to use command path map for oddly named devices
- Command path map is still available if needed
- Add Command base path
- This is used when the base MQTT path for Z2M has been changed
- Command base path and command path map are available as blueprint inputs
- This allows setting a “default” value for these settings
2023.10.3
Model ID fix
- Fix changing the model IDs in the last update that broke the script
2023.10.2
Update model filter to only model numbers
- This fixes the fan switch not working with the latest Zigbee herdsman converters
2023.10.1
Add Fan Switch, Optimize Loop, Cleanup
- Add support for the “Inovelli Fan Controller (VZM35-SN)”
- Optimize looping over multiple entities
- Remove
entity_idfrom fields/parameters- Use
target: entity_id: <entity>instead
- Use
- Remove “Off” option from “Color” and “Duration”
- Use “Effect” instead
- “Off” values are still accepted, just not selectable from the fields
- Change “Brightness level” default from 40 to 100
- Sort the “Effect” to group similar effects together
2023.3.1
MQTT Path Override
- Add Command Path Map
- This is used to override the MQTT path for a specified entity
2022.11.2
Refactor and Fixes
- Add target selector
- Choose multiple areas, devices, and entities
- The entity_id field still works
- Default values changed
- Effect - “Slow Blink” > “Clear”
- Color - “Yellow” > “Red”
- Fix the LED number
- Zigbee2MQTT expects 0-6, not 1-7
- All is now -1 (was 0)
- Allow direct value for effect using the friendly name is no longer required
- Force lowercase on the conversion of fields and parameters
- Allow 100 parallel runs (was 10)
- Update Debug info
- Overall info: entity list, entity count, led, color, level, effect, duration
- Each entity: entity, device name, topic, payload
- Warning: Debug mode will create a persistent message for every entity called!
2022.11.1
- Initial version
Add the Blueprint
![]()

- Click the “Import Blueprint” button above
- Click Preview, then Import Blueprint
- Click “Create Script” from the Blueprint
- Select an icon (ex.
mdi:led-on) - Choose Entity ID (ex.
inovelli_blue_led_zigbee2mqtt)- This will automatically be created from the name if you don’t enter anything
- (Optional) Set defaults for Command base path and mapping if needed
- These options will be used whenever the script is ran
- Save
- Select an icon (ex.
- The script should now be available to Home Assistant
When using the UI to create a script from the blueprint, ensure you have
script.yamlincluded in yourconfiguration.yaml
Adding Blueprint Without UI
You can add this script manually if you do not use the UI for scripts by using the following yaml
- Click the “Import Blueprint” button above
- Click Preview, then Import Blueprint
- Add the following yaml to wherever you keep script yaml
inovelli_blue_led:
  alias: Inovelli Blue LED (Zigbee2MQTT)
  description: Set LED effects for Inovelli VZM31-SN Blue Series 2-1 Switches
  use_blueprint:
    path: zanix/inovelli_blue_led_zigbee2mqtt.yaml
    input:
      command_path_map: {}
  icon: mdi:led-on
  mode: parallel
  max: 100
Update the Blueprint
Follow the official instructions on Re-importing a blueprint
(Optional) Allow Parallel Runs
By default, Home Assistant creates a blueprint script with mode set to single and max will be defaulted to 10
You may want to change these so the script can run with more than a single instance
Alternatively, you can create multiple script instances from the blueprint, but I would not suggest this.
- Go to Settings > Automations & Scenes > Scripts
- Find the script “Inovelli Blue LED (Zigbee2MQTT)” if you didn’t change the name) and click on it
- Click the 3-dot menu and select “Edit YAML”
- Change
mode: singletomode: parallel - Add
max: 100belowmode: parallel - Save the Script
Using the Script
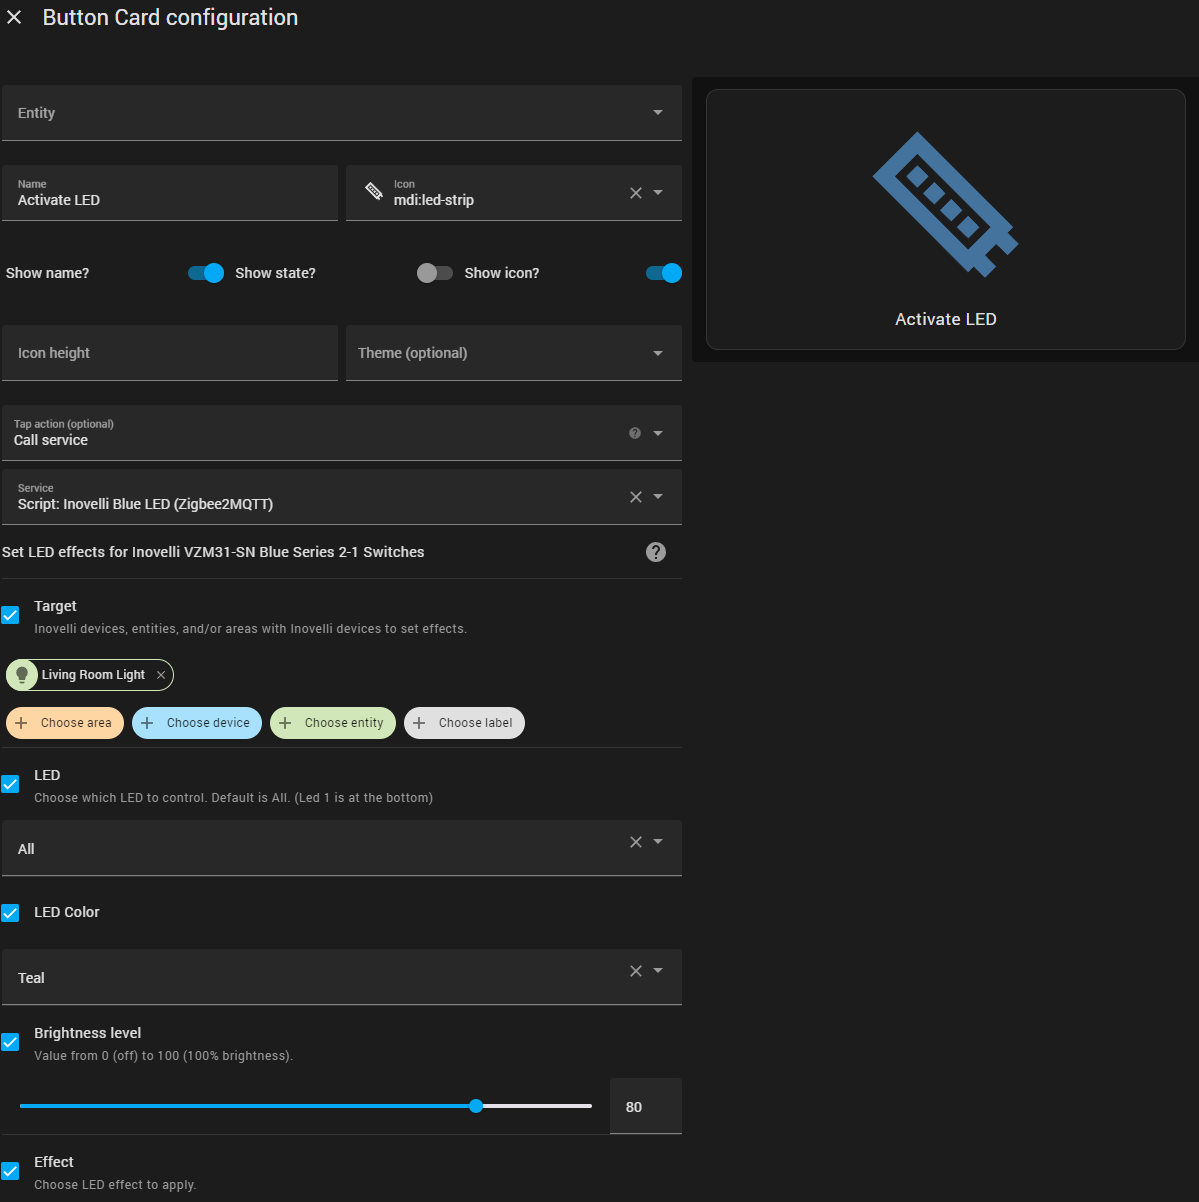
Instead of using the Blueprint inputs to set the LED values, you set the values whenever you call the script. This way you do not have to create a new script for every different set of values you want to set the LED to.
Testing with Developer Tools > Services
- Settings > Developer Tools > Services
- Choose “Inovelli Blue LED (Zigbee2MQTT)” or the name you gave the script

In Automations
- Settings > Automations
- Choose “Call Service” for the action and select “Inovelli Blue LED (Zigbee2MQTT)” or the name you gave the script

UI Action (Lovelace)
- Add any element that can use “Action”
- Choose “Call Service” for the action and select “Inovelli Blue LED (Zigbee2MQTT)” or the name you gave the script
Blueprint Settings
These options can be set when configuring the Blueprint and the script will use these values as “defaults” whenever the script is called.
- Command base path
- Set the base path for the MQTT command path. This is
zigbee2mqttby default. - This can be used to set the base MQTT path if it is changed in Zigbee2MQTT.
- Set the base path for the MQTT command path. This is
- Command path map
-
Map of Entity IDs with a MQTT command path map when HA and Z2M do not match up.
-
Enter the
entity_idof the light entity of the switch and thecommand_topiccopied from the device and paste it into the “Command Path Map” fieldlight.entity_name: "zigbee2mqtt/path/to/device/set" -
How to find the command path
- Settings > Devices > MQTT (click on “## Devices”) > DEVICE NAME
- Click on “More Info” and expand “Payload”
- Find
command_topicand copy the value
-
Thanks
@BrianHanifin - Original “Inovelli Z-Wave Red Series Notification LED” script
@kschlichter - Logic for multiple areas, devices, and entities
@romamix - Idea to override MQTT command path
@diegomorales17 - Loop optimization ideas
@nmbgeek - Fix for payload_template deprecation


