DIY Zigbee weather station

I wanted to build a simple Zigbee based weather station with easily available components.

Hardware:

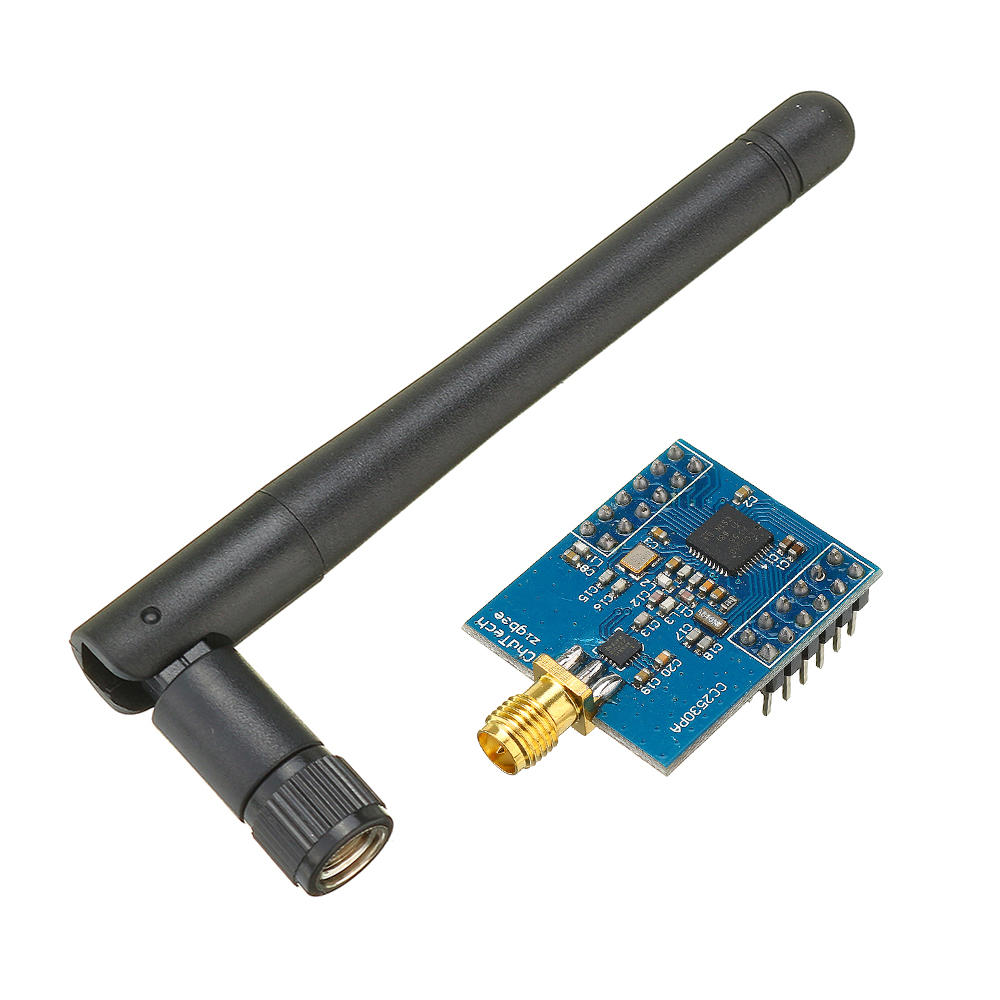
The CC2530 Zigbee device:
CC2530

BME280 for temperature, humidity & pressure:
bme280

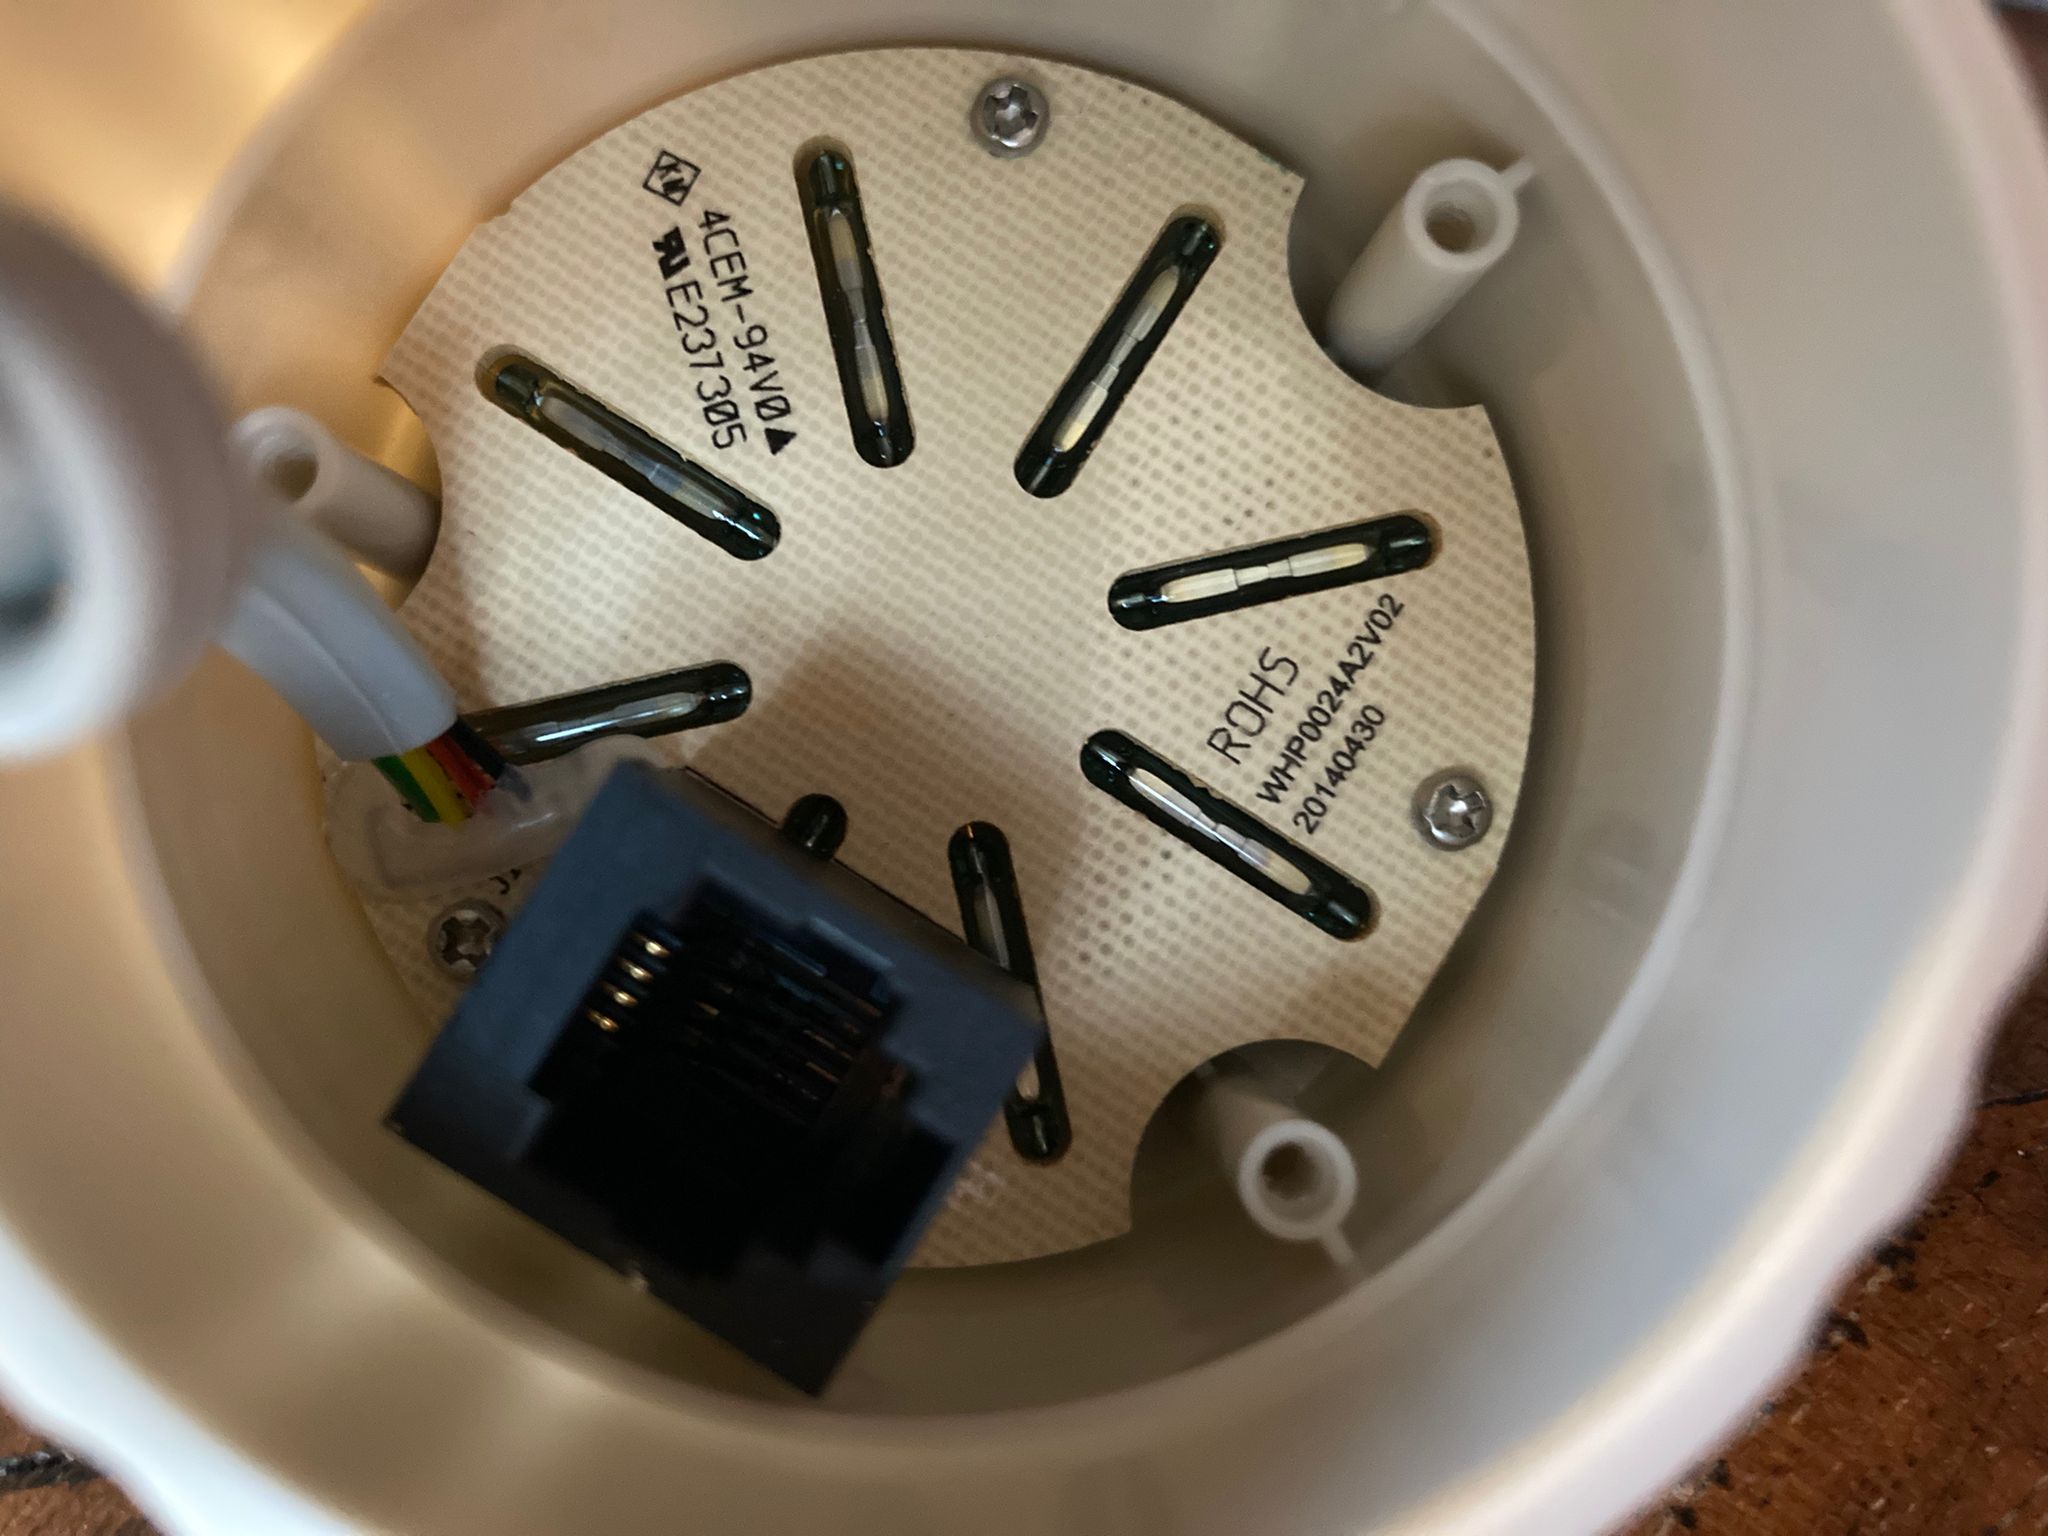
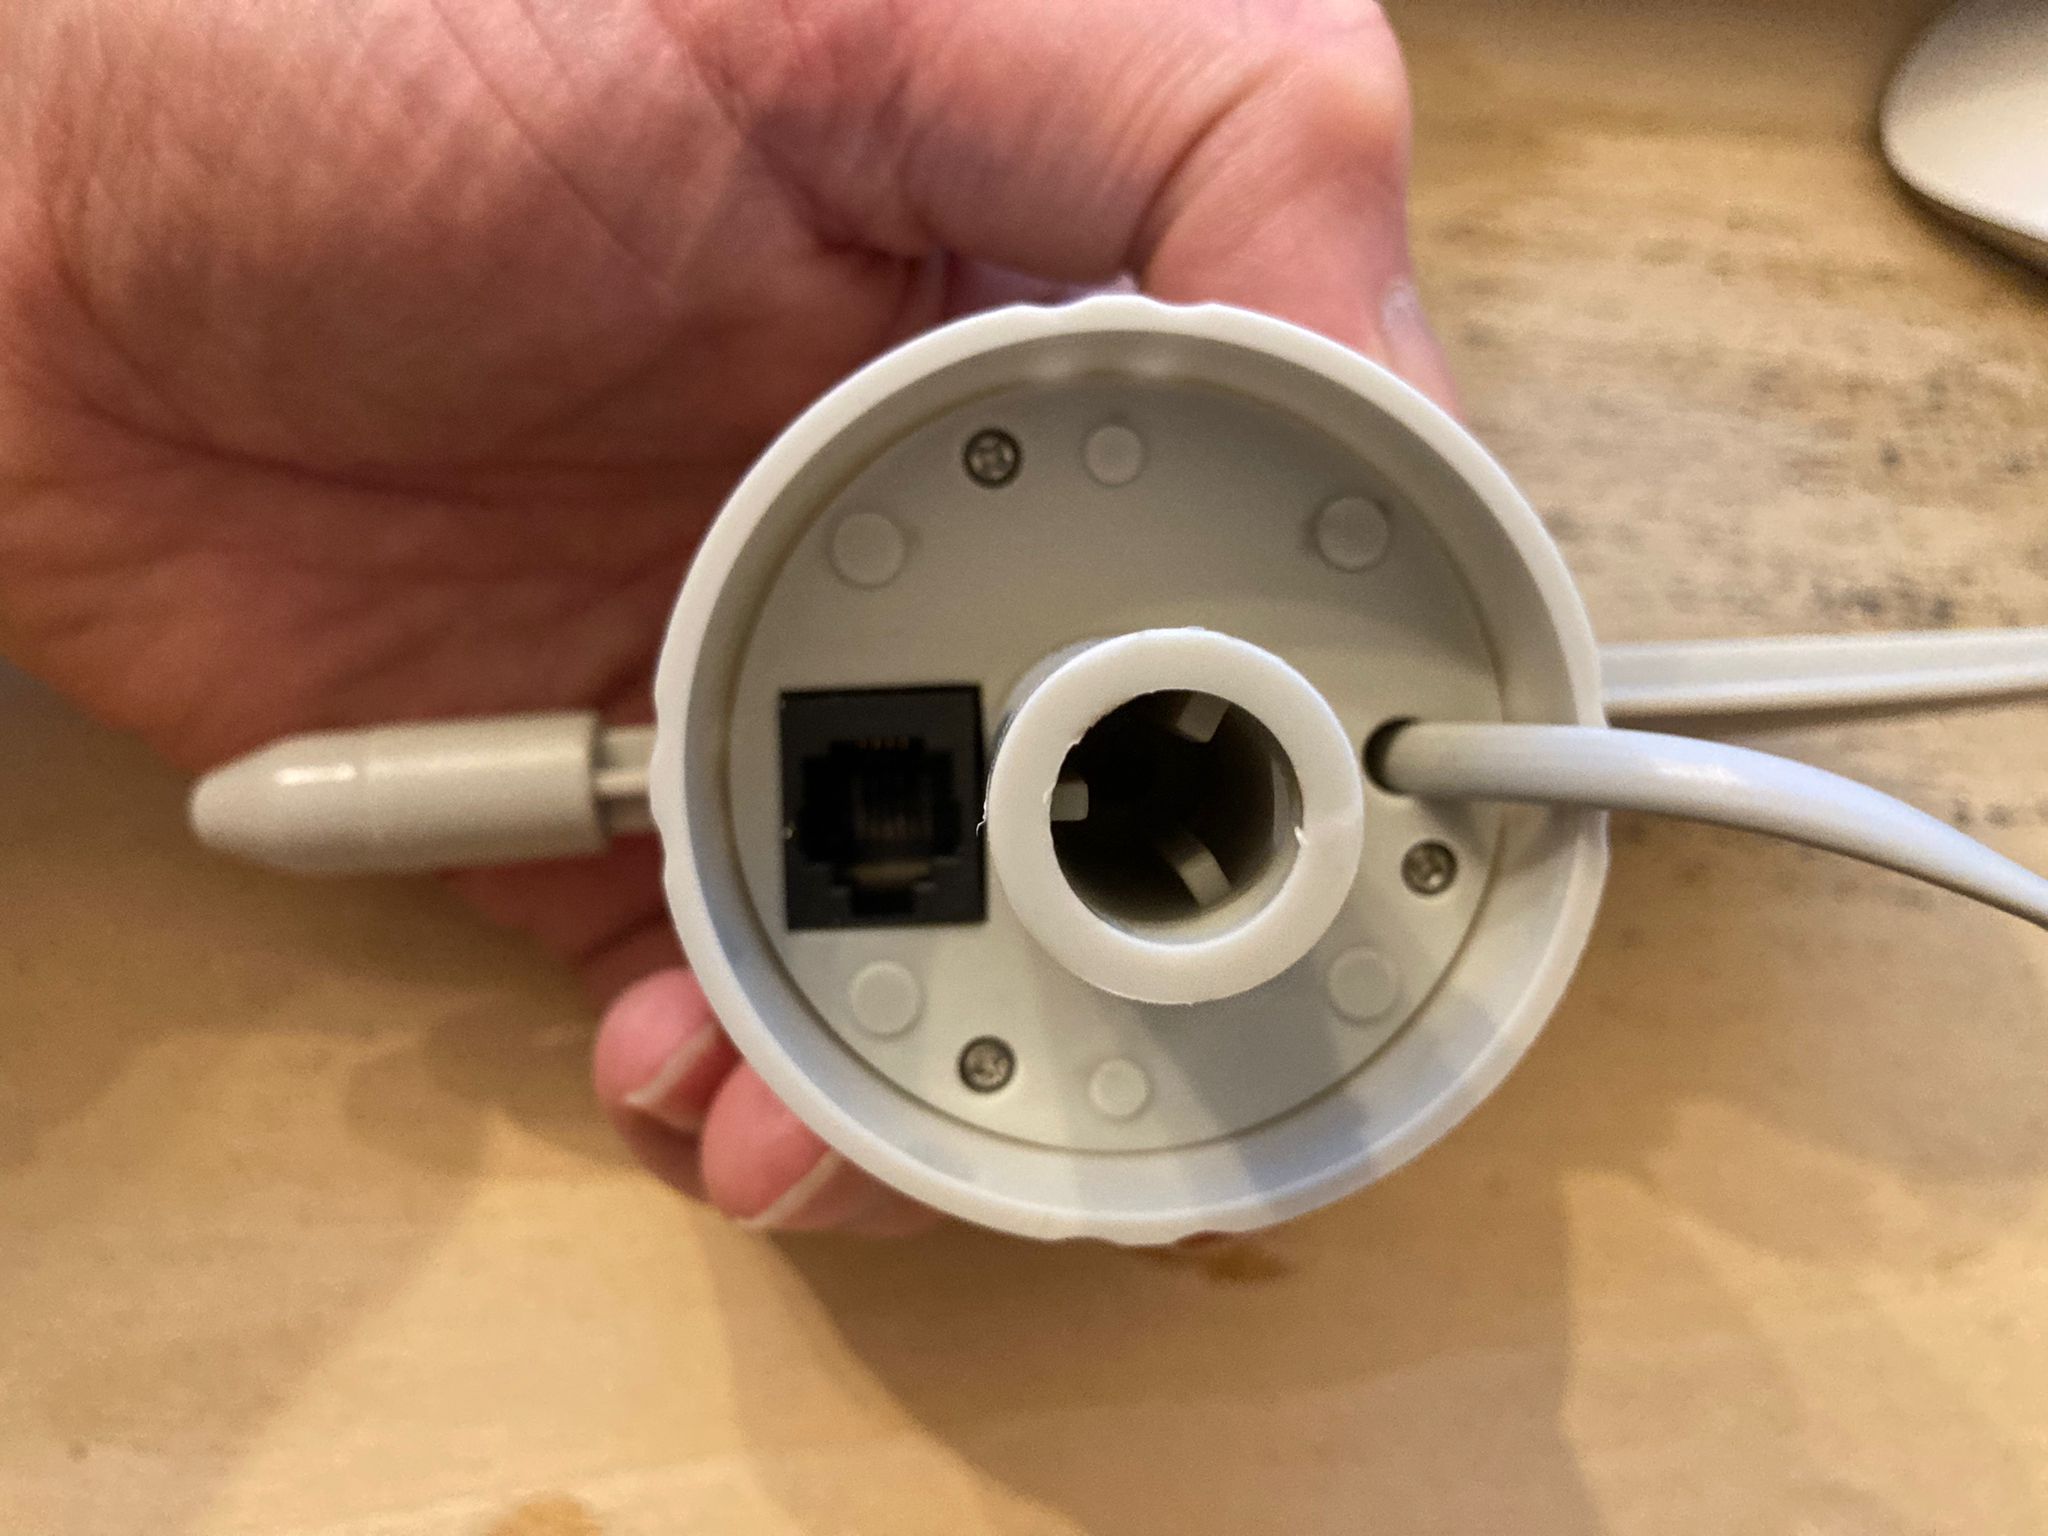
Rain sensor: This device has a clever tipping device and just a simple reed switch:
Rain

Anemometer: This device also has one reed switch!
Anemometer
anemo

Hardware wiring:
The wiring of the four components is very simple:

CC2530 Firmware:
The CC2530 need to be programmed. The CC2530 module is flashed with the great PTVO configurable firmware (https://ptvo.info/zigbee-switch-configurable-firmware-v2-210/ 382). Flashing is done with the CC debugger and the free software from TI (FLASH-PROGRAMMER Software programming tool | TI.com 120) not V2.

The settings for the weather station are:

BME280: I just followed the instructions from PTVO on how to connect I2C devices: I2C
For some BME280 devices the address is 119. Try this if 118 does not work,

The Rain reed switch. This reed switch is connected to P05 (Pull-up) so by connecting it to ground the reed is switching P21 on/off. Switch 5 will appear in HA. I used 0.30303mm per switch on/off in the template sensor (see below).

Anemometer reed switch.
For the anemometer we could in theory use the same set-up as for the rain reed. But that causes problems later on. This anemometer reed switches on and off with a frequency of 0-50 Hz in most of the time. When I tried to calculate the wind speed in HA the processor use went up from 10 to 80%. Long story don’t try to copy this. A more elegant solution is available by using the internal clock : Clock.

The Anemometer reed switch is connected to P07. This port when low is starting the counter. With the applied settings the on/off signal from the reed is added up during 60 seconds. Minor bleeps of less than 10 useconds are ignored. As a result sensor L6 which will appear in HA and is refreshed every minute with the count of the Anemometer reed switch. When the reed goes from on to off it generates 2 counts.
One turn is r * 2 * Pi = 0,09 m * 2 * 3.14 = 0,5652 m, Since one turn generate 2 clicks 0,5652 needs to be divided by 2 = 0,2862. This calculation is performed in a template sensor below.

Home assistant integration
Flash CC2530, connect the wires, apply 3,3 V and the data from the CC2530 will appear in HA via zigbee2mqtt. In order to have the values visible in sensors, you need this yaml:

As you can see, in my case the friendly name of the CC2530 is : 0x00124b000633d676.

#########################################################
#                                                       #
#      BME280 DATA                                      #
#                                                       #
######################################################### 

  - platform: mqtt
    name: "Humidity shed"
    state_topic: "zigbee2mqtt/0x00124b000633d676"
    unit_of_measurement: "%"
    value_template: "{{ value_json.humidity_l1| round(0) }}"
    availability_topic: "zigbee2mqtt/bridge/state"
    payload_available: "online"
    payload_not_available: "offline"
    json_attributes_topic: "zigbee2mqtt/0x00124b000633d676/attributes" 
    icon: mdi:water-percent 
    
  - platform: mqtt
    name: "Pressure shed"
    state_topic: "zigbee2mqtt/0x00124b000633d676"
    unit_of_measurement: "hpa"
    value_template: "{{ ((value_json.pressure_l1| float /100 ) | round (0)) }}"
    availability_topic: "zigbee2mqtt/bridge/state"
    payload_available: "online"
    payload_not_available: "offline"
    json_attributes_topic: "zigbee2mqtt/0x00124b000633d676/attributes" 
    icon: mdi:weight    
    
  - platform: mqtt
    name: "Temperature shed"
    state_topic: "zigbee2mqtt/0x00124b000633d676"
    unit_of_measurement: "°C"
    value_template: "{{ value_json.temperature_l1| round(1) }}"
    availability_topic: "zigbee2mqtt/bridge/state"
    payload_available: "online"
    payload_not_available: "offline"
    json_attributes_topic: "zigbee2mqtt/0x00124b000633d676/attributes" 
    icon: mdi:thermometer-lines    

  - platform: template
    sensors:
      humidity_abs_shed:
        value_template: >-
          {% set h, t = states('sensor.humidity_shed') | float, states('sensor.temperature_shed') %}
          {% if not h or t == 'unknown' -%}
            'unknown'
          {%- else %}
            {% set t = t | float %}
            {{ (h*6.112*2.1674*e**((t*17.67)/(t+243.5))/(t+273.15))|round(1) }}
          {% endif %}
        unit_of_measurement: g/m³
        friendly_name: Absolute Humidity shed

  - platform: template
    sensors:
      dewpoint_shed:
        friendly_name: "Dewpoint shed"
        value_template: >-
          {{ (log( states('sensor.humidity_shed')|int / 100 ) + 18.678 * states('sensor.temperature_shed')|float / (257.14 + states('sensor.temperature_shed')|float ) )| round (1) }}  
        unit_of_measurement: °C

#########################################################
#                                                       #
#      RAIN METER                                       #
#                                                       #
#########################################################  

  - platform: history_stats
    name: Daily rain clicks
    entity_id: switch.0x00124b000633d676_l5
    state: 'off'
    type: count
    start: '{{ now().replace(hour=0, minute=0, second=0) }}'
    end: '{{ now() }}'
    
  - platform: template
    sensors:
      rainfall_today:
        friendly_name: Rainfall today
        unit_of_measurement: mm
        value_template: >-
          {% set count = states('sensor.daily_rain_clicks') | int %}
          {% set mm_per_pulse = 0.30303 %}
          {% set mm = count * mm_per_pulse %}
          {{ mm|round(1, 'floor') }}    
          
#########################################################
#                                                       #
#      ANEMOMETER                                       #
#                                                       #
#########################################################

  - platform: template
    sensors:
      windspeed:
        friendly_name: Wind speed
        unit_of_measurement: m/s
        # m_per_pulse = (r * 2 * Pi)/2 = (0.09 * 2 * 3.14)/2 = 0.2862 m
        value_template: >-
          {% set count = states('sensor.0x00124b000633d676_l6') | int %}
          {% set m_per_pulse = 0.2826 %} 
          {% set mps = count * m_per_pulse %}
          {{ mps|round(1) }}           

  - platform: template
    sensors:
      windforce:
        friendly_name: Wind force
        icon_template: " mdi:weather-windy"
        value_template: "{% set wind = states('sensor.windspeed')|float %}
        {% set wind_round = wind|round(1) %}
        {% if wind <= 1 %}Bft: 0, Wind stil, {{wind_round}} m/s
        {% elif wind <= 5 %}Bft: 1
        , Zwak: flauwe wind, {{wind_round}} m/s
        {% elif wind <= 11 %}Bft: 2, Zwak, {{wind_round}} m/s
        {% elif wind <= 20 %}Bft: 3, Matig: lichte bries, {{wind_round}} m/s
        {% elif wind <= 28 %}Bft: 4, Matig: flauwe bries, {{wind_round}} m/s
        {% elif wind <= 39 %}Bft: 5, Vrij krachtig, {{wind_round}} m/s
        {% elif wind <= 50 %}Bft: 6, Krachtig, {{wind_round}} m/s
        {% elif wind <= 62 %}Bft: 7, Hard, {{wind_round}} m/s
        {% elif wind <= 75 %}Bft: 8, Stormachting, {{wind_round}} m/s
        {% elif wind <= 89 %}Bft: 9, Storm, {{wind_round}} m/s
        {% elif wind <= 103 %}Bft: 10, Zware storm, {{wind_round}} m/s
        {% elif wind <= 117 %}Bft: 11, Zeer zware storm, {{wind_round}} m/s
        {% else %} > 117 %}Bft: 12, Orkaan, {{wind_round}} m/s
        {%- endif %}"

  - platform: template
    sensors:
      beaufort: 
        friendly_name: Beaufort
        value_template: "{% set wind = states('sensor.windspeed')|float %}
        {% if wind <= 1 %}0
        {% elif wind <= 5 %}1
        {% elif wind <= 11 %}2
        {% elif wind <= 20 %}3
        {% elif wind <= 28 %}4
        {% elif wind <= 39 %}5
        {% elif wind <= 50 %}6
        {% elif wind <= 62 %}7
        {% elif wind <= 75 %}8
        {% elif wind <= 89 %}9
        {% elif wind <= 103 %}10
        {% elif wind <= 117 %}11
        {% else %} > 117 %}12
        {%- endif %}"
        entity_picture_template: "
        {% set state = states('sensor.beaufort') %}
        {% set path = '/local/beaufort/' %}
        {% set ext = '.jpg'%}
        {{[path,state,ext]|join('')|lower}}"        
            
#########################################################
#                                                       #
#            END OF CONFIGURATION FILE                  #
#                                                       #
#########################################################     

Screen Shot 2022-01-11 at 21.26.56
Screen Shot 2022-01-11 at 21.26.49
Screen Shot 2022-01-11 at 21.26.42

I have used the following great posts for inspiration and learning:

Rain Gauge via Zigbee from @parrel
ESPhome weather station @hugokernel
Beaufort from @Mariusthvdb
Wind pulse count
Humidity

That’s all

=========See last post========
I have updated the config files according to the latest HA version
++++++++++++++++++++++++++++++++++++++++++++++++

63 Likes

Nice write-up! What are you using to power it? Solar and battery?

My weather station is powered via a normal socket 230V=>3.3V. With the PTVO firmware you can also make battery/solar system with a smart use of power.

This looks like a lot of fun. I’m saving this for later.
Thanks for sharing!

1 Like

Great, thanks for sharing! :slight_smile:

What kind of enclosure have you been using outdoors?

And do your know whether it’s possible (and if so, how) to use a different, more powerful zigbee board than the CC2530?

My pleasure, sharing is key for the HA-success!

Enclosure: the anemometer and rain sensor can be connected to ‘anything’ outside. I have used screws to place these two on a piece of wood.
anemorain.
The BME280 sensor should be placed in a dry spot in the shade with enough air-ventilation.

More powerful zigbee board: What do you mean by more powerful? The CC2530 is powerful enough to perform the functions for the BME280/counter/switches. The external antenna makes the unit more powerful in connectivity than most of the zigbee units with an onboard pcb-antenna. The CC2530+CC2590/CC2591/CC2592 are even more powerful than the C2530.

The PTVO firmware supports the following zigbee modules:
CC2530, CC2530+CC2590, CC2530+CC2591, CC2530+CC2592, CC2530+RFX2401, CC2531, CC2652R1, CC2652RB, CC2652P/CC1352P2. So plenty of choice!

1 Like

Next phase in this little project is to add a wind vane:
Screen Shot 2022-02-01 at 21.09.36

The wind vane has eight reed switches, each connected to a different resistor. The vane’s magnet may close two switches at once, allowing up to 16 different positions to be indicated. You can see the 8 reeds in the inside of the wind vane:

An external resistor can be used to form a voltage divider, producing a voltage output that can also be measured with the CC2530 unit. The switch and resistor arrangement is shown in the diagram below.

Resistance values for all 16 possible positions are given in the table. Resistance values for positions between those shown in the diagram are the result of two adjacent resistors connected in parallel when the vane’s magnet activates two switches simultaneously.


By applying 3.3 Volt (the CC2530 supply voltage ) and a 10 k resistor like this:
Screen Shot 2022-02-01 at 21.14.49

The output voltage can be translated to the wind direction:
Screen Shot 2022-02-01 at 21.19.23

Let’s connect the wind vane green and black wire together with the 10k resistor to the CC2530:

The PTVO can also measure the voltage on a port P03. For this I applied the following configuration:

Flash the firmware and an extra sensor (l8) will become available in HA. This sensor is displaying the voltage. With a template sensor this can be converted to 3 extra sensors:

#########################################################
#                                                       #
#      WIND DIRECTION                                   #
#                                                       #
#########################################################

  - platform: mqtt
    name: "Wind voltage"
    state_topic: "zigbee2mqtt/0x00124b000633d676"
    unit_of_measurement: "v"
    value_template: "{{ value_json.l8| round(2) }}"
    availability_topic: "zigbee2mqtt/bridge/state"
    payload_available: "online"
    payload_not_available: "offline"
    json_attributes_topic: "zigbee2mqtt/0x00124b000633d676/attributes" 
    icon: mdi:call-made

  - platform: template
    sensors:
      wind_azimuth: 
        friendly_name: Wind azimuth
        unit_of_measurement: '°'
        value_template: "{% set wind = states('sensor.wind_voltage')|float %}
        {% if wind <= 0.21 %}112.5
        {% elif wind <= 0.27 %}67.5
        {% elif wind <= 0.30 %}90.0
        {% elif wind <= 0.41 %}157.5
        {% elif wind <= 0.60 %}135.0
        {% elif wind <= 0.79 %}202.5
        {% elif wind <= 0.93 %}180.0
        {% elif wind <= 1.31 %}22.5
        {% elif wind <= 1.49 %}45.0
        {% elif wind <= 1.93 %}247.5
        {% elif wind <= 2.03 %}225.0
        {% elif wind <= 2.26 %}337.5
        {% elif wind <= 2.53 %}0.0
        {% elif wind <= 2.67 %}292.5
        {% elif wind <= 2.86 %}315.0
        {% elif wind <= 3.05 %}270
        {% else %} > 3.05 %}295.5
        {%- endif %}"

  - platform: template
    sensors:
      wind_direction:
        friendly_name: Wind direction
        value_template: >
          {% set degrees = states('sensor.wind_azimuth')|float %}
          {% set abbr = ['N','NNE','NE','ENE','E','ESE','SE',
          'SSE','S','SSW','SW','WSW','W','WNW','NW','NNW' ] %}
          {%- set i = ((degrees / 22.25) | round(0)) | int %}
          {%- set i = 0 if i == 16 else i %}
          {{ abbr[i] }}

Screen Shot 2022-02-01 at 21.31.24

When placing the wind vane you need to know what is North:


The wind vane arrow is pointing north.

Long live Zigbee!

5 Likes

Exactly what I was looking for. Ordered the parts, hope I don’t mess it up. Thanks!

Okay everything arrived, got the wiring done and flashed it.
However, setting up zigbee2mqtt doesn’t work. Starting it only throws an “undefined” error. That’s the entire error message.

So I went with ZHA instead. I was able to discover the device and the rain switch is working properly as " ptvo.info ptvo.switch". However, it couldn’t find anything else. Has anyone got this to work with ZHA yet?

I guess I’ll see if a second zigbee adapter will work, I assume zigbee2mqtt can’t use it as ZHA is already occupying it

Suggest you first try to get zigbee2mqtt working, since this is a very fine protocol with support for tons of devices. Try to post your zigbee2mqtt on another thread for some help.

3 Likes

A second zigbee stick did indeed solve the issue.
However, now the next one appeared. Homeassistant is not getting any values from the BME sensor. I’ve tried flashing it with the address as 119, but that didn’t change anything… How would I go about debugging this? When I search for my 0x0 address in the HA dev tools, everything is none or unknown besides l1, the rain sensor and the aenometer. Does that mean my soldering is bad? I’ll see if I can find something in the zigbee2mqtt logs when switching between 118 and 119

Hi, my name is Aleksandar, I am a student of multimedia communication technologies. For my dissertation, I received the creation of a wireless sensor network using the ZigBee protocol. I decided to use the ZigBee CC2530 module. I originally thought of using it with an Arduino Pro Mini ATMega328P microcontroller, but after reading your post about the ZigBee weather station, I realized I could only use the ZigBee CC2530 module, without the ATMega microcontroller, as the CC2530 is based on the 8051 microcontroller. I’m interested in whether it’s difficult to manage and program, I’ve never used it before. Can you give me some advice, example or anything that would be useful in making a project? I want to configure sensor nodes and transmit telemetry data over the network to the user.

Thank you very much. Best regardss.

Hi, This is really interesting topic and I would like to flash my CC2530, but the link to the Flash Programmer from TI (not V2), requires register and (tried a few times) there is no way to register and get the program. Could anyone pass a valid link or send me the program?. I am blocked at this point.(I already got Debugger, CC2530, PTVO…
Or just in case there is another way to flash CC2530 without using TI software, some ideas would be welcome.
Thanks a lot in advance for any help.

Have you tried this : FLASH-PROGRAMMER Software programming tool | TI.com

Yes of course, that was my first try.!

image

This windspeed sensor should decrease when the Anemometer decrease speed?
if yes im doing something wrong here XD

Great work, thanks for sharing! It is properly working in my side.

I have one doubt regarding the code and data you are using for the Beaufort Scale. If I understood well you are using the wind Speed captured by the sensor, but it is in m/s and you are comparing it with Beafort Scale in km/h. I mean, for Bft 12 in the code is said … > 117 (it is 117 km/h), but you should use 32,6, as you are comparing againsts m/s.
Based on that, I think we should change the values used for comparison to obtain the Bft values, and use the ones in m/s. Is right my understanding?
I hope I express well myself

ive ordered the zigbee card (with antenna) and the programmer
the weather station bit i have from an old wm918

ive setup ha before on a pi but am changing to a thin client, still waiting fir my sonoff zigbee dongle to arrive

has anyone thought about a stand alone version via an app, or could tuya see it as a sensor within the zigbee section?

also would a wifi version be possible? (model boat club)

thankyou and well done

If your windspeed is indeed m/s then this is not correct. This scale division is for km/h. For m/s the values are:

  - platform: template
    sensors:
      windforce:
        friendly_name: Wind force
        icon_template: " mdi:weather-windy"
        value_template: "{% set wind = states('sensor.windspeed')|float %}
        {% set wind_round = wind|round(1) %}
        {% if wind <= 0,2 %}Bft: 0, Wind stil, {{wind_round}} m/s
        {% elif wind <= 1.5 %}Bft: 1, Zwak: flauwe wind, {{wind_round}} m/s
        {% elif wind <= 3.3 %}Bft: 2, Zwak, {{wind_round}} m/s
        {% elif wind <= 5.4 %}Bft: 3, Matig: lichte bries, {{wind_round}} m/s
        {% elif wind <= 7.9 %}Bft: 4, Matig: flauwe bries, {{wind_round}} m/s
        {% elif wind <= 10.7 %}Bft: 5, Vrij krachtig, {{wind_round}} m/s
        {% elif wind <= 13.8 %}Bft: 6, Krachtig, {{wind_round}} m/s
        {% elif wind <= 17.1 %}Bft: 7, Hard, {{wind_round}} m/s
        {% elif wind <= 20.7 %}Bft: 8, Stormachting, {{wind_round}} m/s
        {% elif wind <= 24.4 %}Bft: 9, Storm, {{wind_round}} m/s
        {% elif wind <= 28.4 %}Bft: 10, Zware storm, {{wind_round}} m/s
        {% elif wind <= 32.6 %}Bft: 11, Zeer zware storm, {{wind_round}} m/s
        {% else %}Bft: 12, Orkaan, {{wind_round}} m/s
        {%- endif %}"

Cool project though!

2 Likes