With this you can use any sensor (not just HmIP) to control the window state of the thermostats.
blueprint:
name: Window Open, Notify HomeMatic CCU
description: >
An automation blueprint that reduces the set temperature of your climate
device or group if a window sensor is open for more than the preset wait time.
It uses the Homematic window sensor channel to set the temperature to the "Open-window
temperature" set in the device configuration. You should set the "Mode for temperature
fall detection" to Inactive to avoid conflicts. It waits until the window is closed
again in order to restore the climate entity temperature. It has an optional blocking
entity to prevent the automation running unnecessarily, for example during the
Summer season.
domain: automation
input:
window_entity:
name: Window Sensor
description: The window sensor that will control the climate entity.
selector:
entity:
domain: binary_sensor
device_class: window
multiple: true
open_delay:
name: Windows Open Wait Time
description: Time to delay after window opens before notifying HomeMatic.
default: 30
selector:
number:
min: 0.0
max: 600.0
unit_of_measurement: seconds
mode: slider
step: 1.0
blocking_entity:
name: (OPTIONAL) Blocking Entity
description: >
If this entity's state is on, it will prevent the automation from
running. E.g. summer mode or away mode.
default:
selector:
entity:
domain: input_boolean
climate_entity:
name: Climate Device
description: The climate entity that is controlled by the window sensor.
selector:
device:
integration: homematicip_local
source_url: https://community.home-assistant.io/t/homematic-ip-local-reduce-room-temperature-when-a-window-or-door-is-opened/373305
variables:
blocking_entity: !input "blocking_entity"
climate_target: !input "climate_entity"
climate_id: !input "climate_entity"
open_delay: !input "open_delay"
windows: !input "window_entity"
trigger:
- platform: state
entity_id: !input "window_entity"
to: "on"
for: !input "open_delay"
condition:
- condition: template
value_template: "{{ (blocking_entity == none) or (states[blocking_entity].state == 'off') }}"
action:
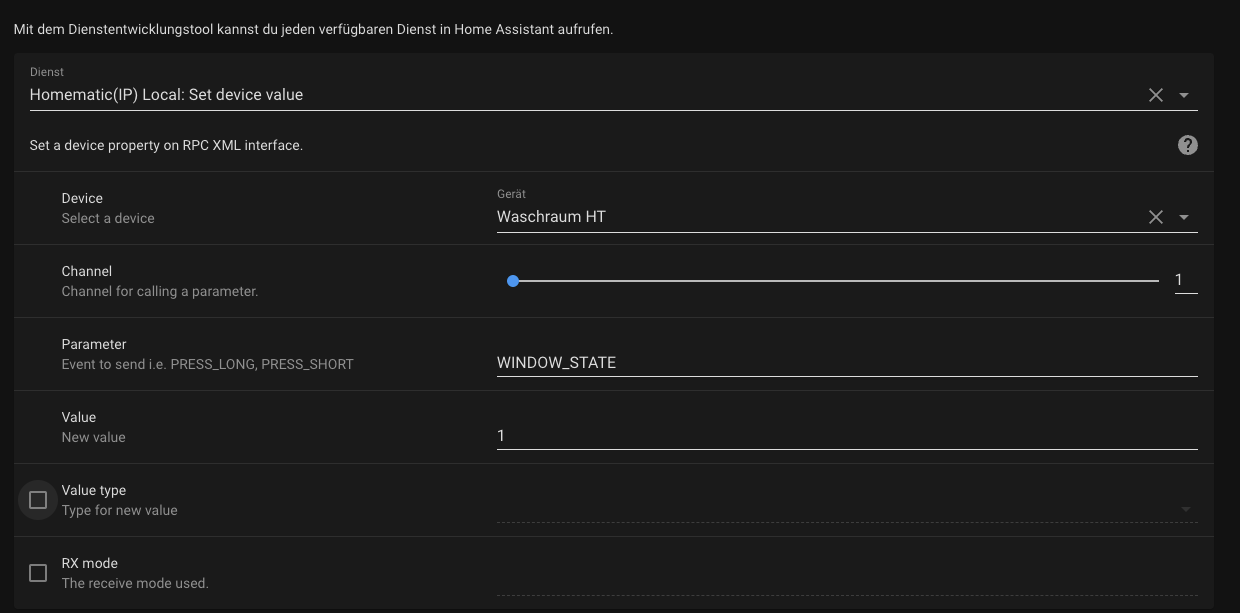
- service: homematicip_local.set_device_value
data:
device_id: "{{ climate_id }}"
channel: 1
parameter: WINDOW_STATE
value: 1
- wait_template: >
{% set closed = namespace(bool=true) %}
{% for state in states.binary_sensor%}
{% if state.entity_id in windows %}
{% if state.state == "on" %}
{% set closed.bool = false %}
{% endif %}
{% endif %}
{% endfor %}
{{closed.bool}}
continue_on_timeout: false
- service: homematicip_local.set_device_value
data:
device_id: "{{ climate_id }}"
channel: 1
parameter: WINDOW_STATE
value: 0
mode: restart
max_exceeded: silent
Beware that aquara sensors are usually listed as door sensors, not as window sensors, so they won’t be listed in the selection area. You can either enter the entity manually (binary_sensor....) anyway or change the type of the sensor in Home Assistant by going to the entity settings.
Updates:
08/05/22 - Updated syntax to newer version of homematicip_local (hahm → homelaticic_local) and added support for multiple window sensors.
This only makes sense with radiators because the underfloor heating is too sluggish for that.
Why not just do this via the CCU software or whatever else you use for Homematic software.
I use radiators and aqara door sensors (zigbee) which are connected via zigbee2mqtt to home assistant. Can you elaborate what you mean with why I don’t use the ccu?
I use both a Raspberrymatic for Homematic and a separate Raspberry for Homeassistant.
Both are separated but the automation with Zigbee / Zwave / Homematic only via HA.
Thank you for that great Blueprint. I‘ve imported the template und tried to configure one Automation with a Aquara Door and Windows Sensor and a Homematic climate. But unfortunately the Aquara sensor is not listed in the enteties so i am not able to select the device!
The devices listed are window sensors, the aquars sensors are usually adopted as door sensors. In home assistant, select the aquar sensor and edit it (where you can edit friendly name etc) and there you can also select whether it should be used as a door or window sensor. This should fix it.
Alternatively you can enter the name manually “binary_sensor…” and then it also should show all binary sensors.
For debugging and error search i have the following questions
How does the climate get the new config?
Is it somewhere visible that the peering was successful besides the window open icon directly on the climate?
I come from FHEM and in the FHEM device it was visisble if the peer was successful or not.
Since it’s not a real paring between the window sensor and the device, no, you won’t be able to see it somewhere in a config. So the climate does not really get a new config, HomeAssistant simply changes the window_open state of the device depending on the aquara sensor.
But as you mentioned, you know when it’s working because of the window-open symbol on the device/the temperature change on the device (depending on your settings in HomeMatic).
Is it still not working? I created this automation with the addon on version 0.12 and it has changed a lot since then, so this might need to be updated, I haven’t checked since I am still on 0.12
You could also try to check the box “value type” and enter int and see if this makes it work. If not, I believe you have the integration not setup correctly, e.g. did not enter the ports in the configuration.yaml and forwarded the ports in HomeMatic firewall.
Firewall in Raspberrymatic is open and i can control the devices integrated in HA with the new Homematic Integration but i did not setup something in configuration.yaml
You need to make sure that the ports that you enter during the setup of the integration match the ports that you have entered in Home Matic. The JSON RPC port is usually 80 or 443, but when you run Home Matic on the same machine as Home Assistant, you would need to change that port in the Addon/integration since Home Assistant already uses that port on the same IP adresse.