Create an Automation in Home Assistant:
This automation updates/creates sensors based on data received via a webhook and activates the input_boolean to request an update in HomeKit.
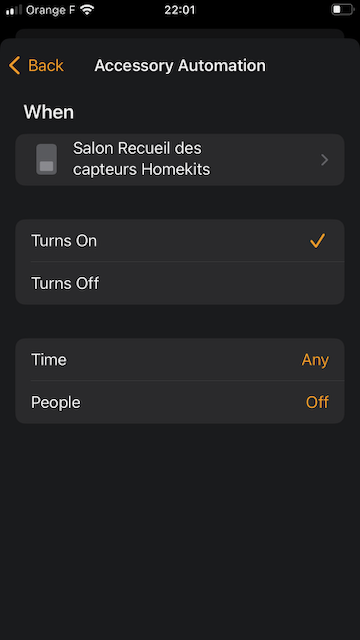
Set Up an Automation in the HomeKit App:
This automation triggers when homekit_sensors_update is activated. It obtains temperature and humidity values and sends this data to Home Assistant using a Get content action via http://homeassistant:8123/api/webhook/homekit_sensors using POST with a JSON payload.
JSON format:
{
  "sensor": "XXXXX",  # Must be text
  "temperature": numeric value,  # Must be numerical
  "humidity": numeric value  # Must be numerical
}
Method B (More Secure, No Python Script Required):
Create an input_boolean Exposed to HomeKit:
(Same as in Method A)
Create an Automation in Home Assistant:
(Same as in Method A, but with only the time_pattern trigger)
alias: Homekit - Sensor Collection
description: Processes temperature and humidity data from the HomePod Mini
  - platform: time_pattern
    minutes: /2
    id: time
action:
  - service: input_boolean.turn_on
    target:
      entity_id: input_boolean.homekit_sensors_update
  - delay: '00:00:05'
  - service: input_boolean.turn_off
    target:
      entity_id: input_boolean.homekit_sensors_update
mode: single
Set Up an Automation in the HomeKit App:
This automation triggers when homekit_sensors_update is activated. It obtains temperature and humidity values and sends this data to Home Assistant via http://homeassistant:8123/api/states/your_sensor_humidity and http://homeassistant:8123/api/states/your_sensor_temperature using POST with a JSON payload.
Before this step, enable the REST API and create an API key in Home Assistant.
In your Apple Home automation, add an additional header in the two Get contents of the request:
Key: Authorization
Text: Bearer
JSON format for temperature:
{
  "state": current_homepodmini_temperature,  # Must be numerical
  "device_class": "measurement",
  "state_class": "temperature"
}
JSON format for humidity:
{
  "state": current_homepodmini_humidity,  # Must be numerical
  "device_class": "measurement",
  "state_class": "humidity"
}
Method B only requires the time_pattern trigger of the automation :
alias: Homekit - Sensor Collection
description: Processes temperature and humidity data from the HomePod Mini
  - platform: time_pattern
    minutes: /2
    id: time
action:
  - service: input_boolean.turn_on
    target:
      entity_id: input_boolean.homekit_sensors_update
  - delay: '00:00:05'
  - service: input_boolean.turn_off
    target:
      entity_id: input_boolean.homekit_sensors_update
mode: single
Note : I’ve updated the how-to and fixed a typo in the url
whew… got this setup and took a bit of deciphering from the python model to not. Always, the big issue I can’t resolve is that the temp comes in via HomeKit as
Celsius. If I setup the sensors in HA with “F” it doesn’t “convert it”.
Do I need to do a formula and if so… where (and what).
[quote=“mjolsen74, post:4, topic:665074”]
whew… got this setup and took a bit of deciphering from the python model to not. Always, the big issue I can’t resolve is that the temp comes in via HomeKit as
Celsius. If I setup the sensors in HA with “F” it doesn’t “convert it”.
[/quoteYour response is quite comprehensive and addresses the issue of converting Celsius to Fahrenheit in Home Assistant. However, there are a few adjustments and clarifications that can be made for accuracy and clarity. Here’s a revised version of your response:
To resolve the issue of your temperature readings being in Celsius, I recommend creating an additional sensor in Home Assistant or applying a conversion formula. This can be done efficiently within the configuration.yaml file.
thanks, I’m almost there. One thing is missing, I can’t get the temperature value inside the Get contents… Drag n drop doesn’t seem to work. How did you do it?
Small things I came across using Method B:
“trigger” is missing in the automation YAML
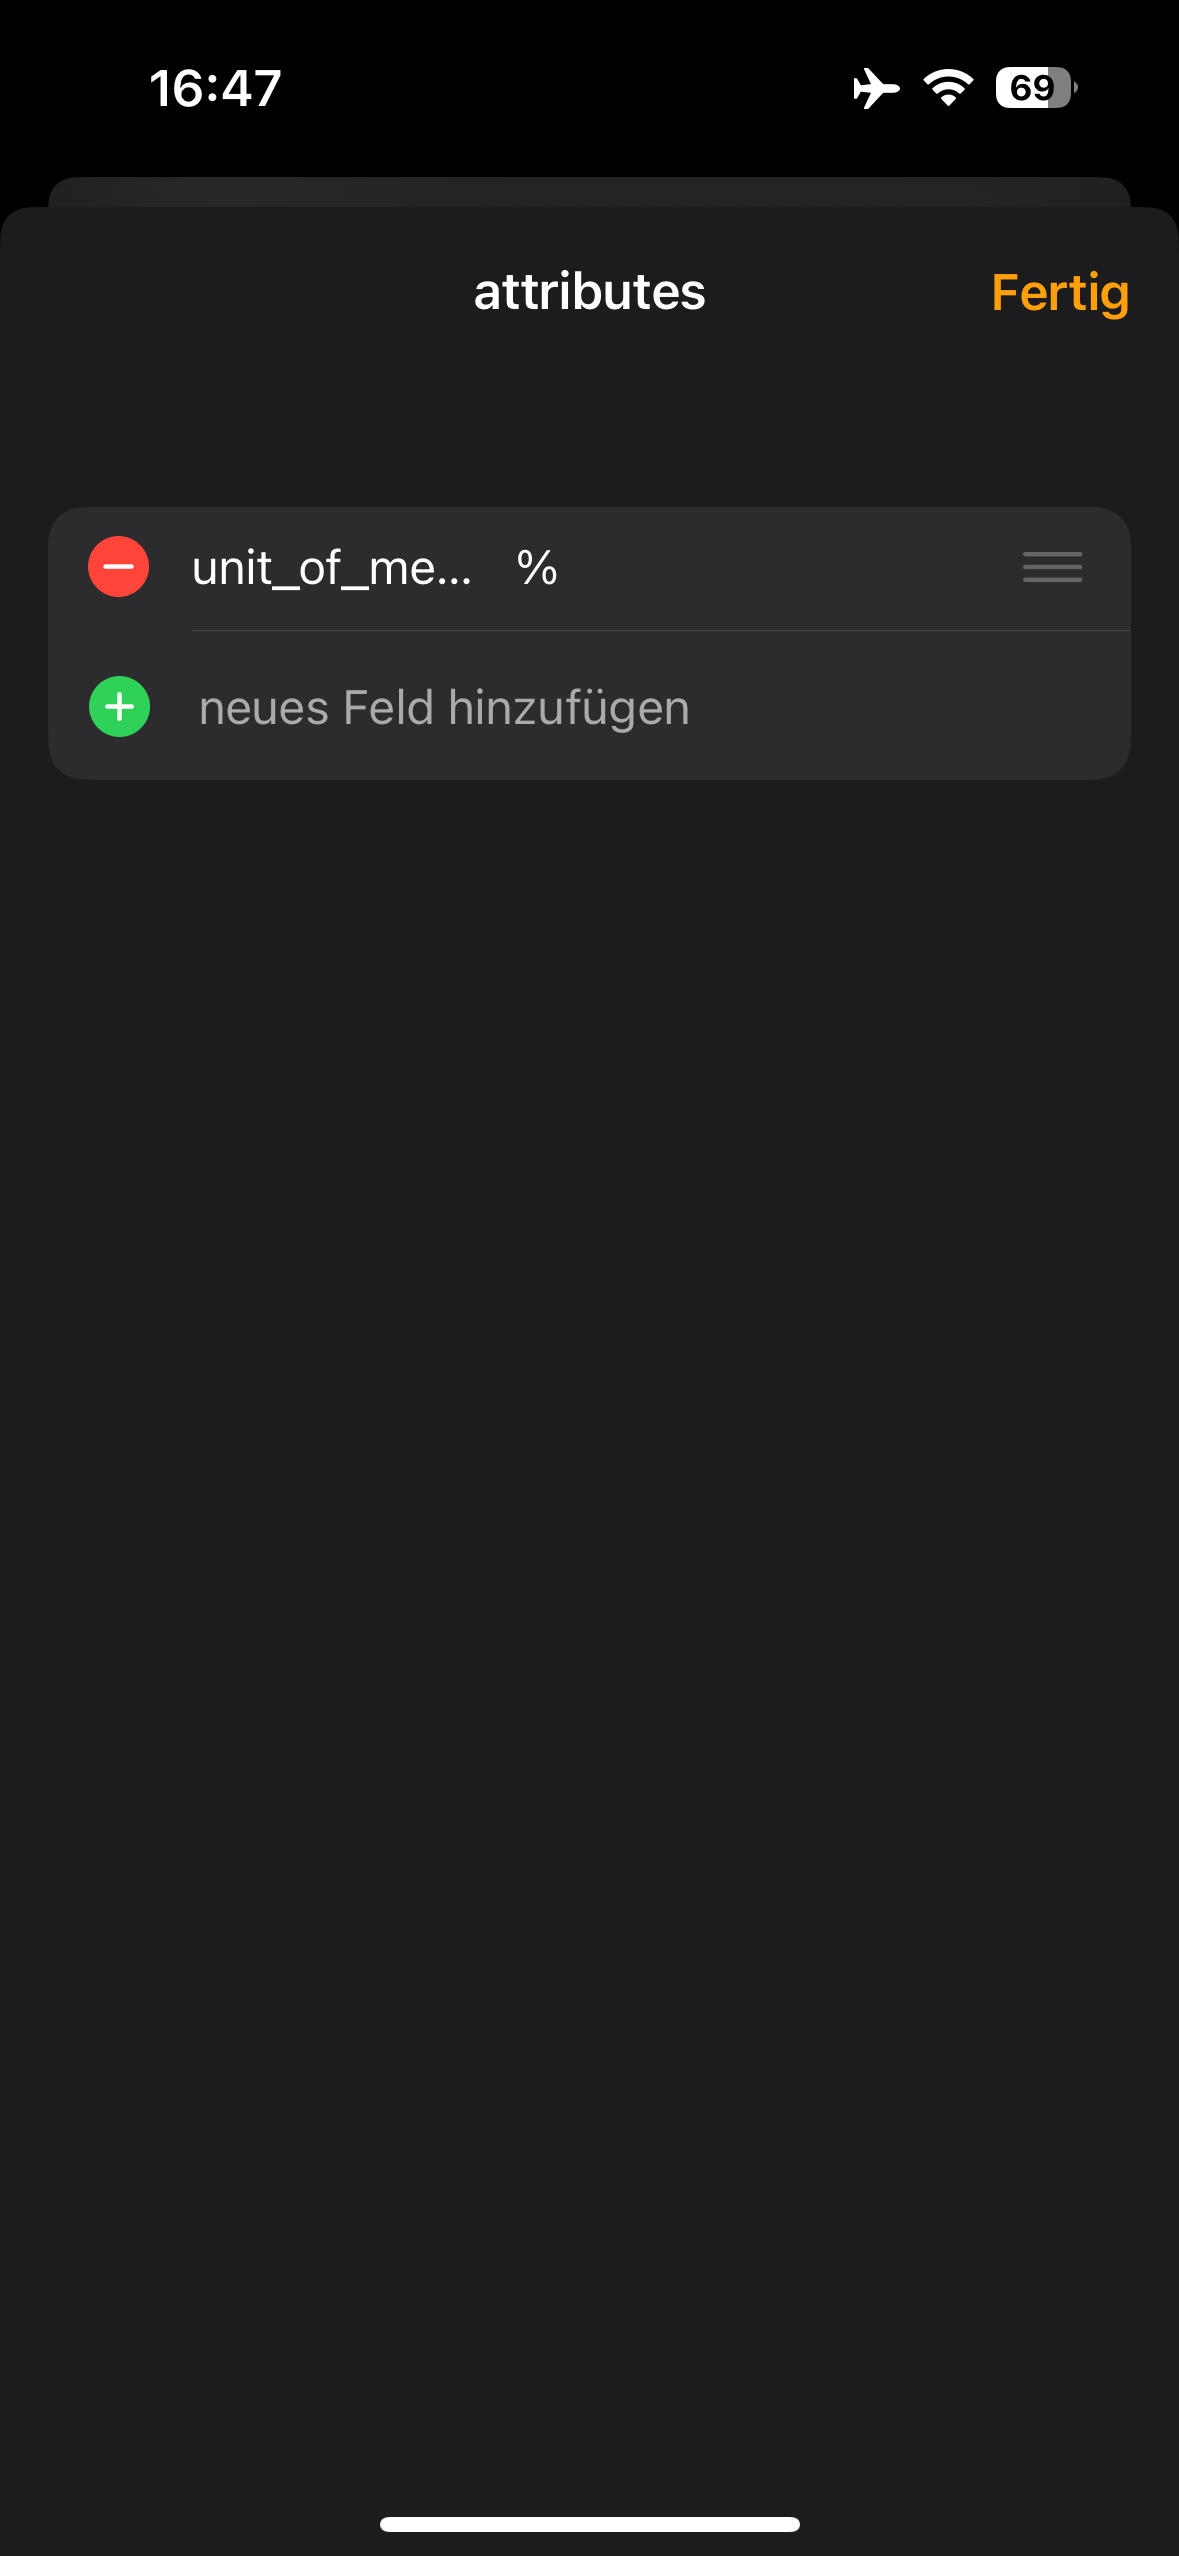
If you want the UI to show the correct unit of measurement, you have to add a dictionary named “attributes” with one text element called “unit_of_measurement”.
@rmeekers When you open the keyboard to put something into the number field, you should see a home icon with a home icon and the text “Current Temperature” above the virtual keyboard
@topic: I can’t get this to run. I created the long-live-access-token and added it to the header but the shortcut returns a 403: Forbidden. Is there any way to see some enhanced logging in HA to see what’s going on?
Woohoo! I got it to work also, finally… Had to do some stuff. I used option B, the more secure option.
Like shown above: add trigger to the yaml for the automation (below description: and above - platform:). (Thanks @paull27)
And add sensor. to the url after states/ (thanks @rmeekers ).
Also, in the JSON, shouldn’t only the state with the temperature or humidity be in the main, and then add a dictionary with the attributes and add all other parameters (such as device_class and state_class) there?
At first sight, you’d think: great! But… no, not really, because the temperature is in text-format (23,7 °C), where you’d want it to be 23.7 (and add the degrees celsius with unit_of_measurement and stuff like that).
Didn’t see that you were on macos Glad it works now!
I prefixed the token with Bearer in the Authorization header. Using Postman I get the same error.
Using a get on http://ip:8123/api returns a 200OK and the message “api running”. Using the same get without auth header i get a 401: Not authorized.
I had the same as you for a while… have you tried creating a new API key? And restart HA in the meanwhile? And just wait for a bit? Because that’s what I did… and then suddenly it seemed to work. Just try it again, it should work!
And… did you add “api:” to the configuration.yaml?
I fixed it!
It was easy… of course, in the HomeKit automation, make sure you select number when you add a new parameter to the main part. When you select text, like I did, you get the unit as well. When you select number, you only get the value.
No, HomeKit automations are done on the HomePods (or on the home hub), not on your mobile device. You only set up the automation on your mobile device, then the home hub takes over.
Easy check: set up the wrong authorization key, you’ll get a notification in HA that someone tried to log in. And you’ll see the IP of your HomePod.
I was wondering if someone could lend a hand in simplifying a process for me. I’m quite fond of Method 2 as it appears simpler, but I’m encountering a few stumbling blocks:
Step 1: I’ve managed to create a trigger in Helpers (fingers crossed it’s done correctly).
Step 2: I’ve also set up an automation.
Creating an Automation in Home Assistant:
(Similar to Method A, but with just the time_pattern trigger)
However, I’ve noticed a red line appearing due to:
platform: time_pattern
minutes: /2
id: time
Step 3: I’ve added the following to the configuration.yaml file:
api:
I’ve generated an API KEY in my profile under Long-Lived Access Tokens. It looks something like this: eyJhbGciOiJIUzI1NiIsInR5cCI6IkpXVCJ9.eyJpc3MiOiI1N2ExZDQ4MjIyN2E0ZjlmYTI3Yzc2YTNiMTdlYzCI6MTcwNzYwNDdsadak2NiwiZXhwIjoyMDIyOTY0OTY2fQ.SkU2AYcWXCCfhai0VOpSB_APUcaRikZdu_cyewzg3Kg
Could someone please confirm if this is correct?
Moving on, I’ve attempted to create and test the automation on my iPhone, but unfortunately, it doesn’t seem to be working as expected. Upon enabling it and trying to access http://192.168.0.105/api/states/homepod_sensors, it simply downloads an empty file.
I’d deeply appreciate any guidance or suggestions on where I might be going wrong.