It took a while to figure this out, so I might as well document this. Looking at the amount of search hits on this subject, I wasn’t not the only one that needed access to the host itself.
When debugging an issue related to the OS or docker, you might need access to the host itself. The Terminal & SSH Add-on drops you in a container, while this might be enough for users, you sometimes want to access the real operating system, to examine some docker issue for example.
There is a well written documentation on how to do this here: Debugging the Home Assistant Operating System | Home Assistant Developer Docs but this only works nicely when you are running HA on a Raspberry Pi. When running HA in a VM like on Proxmox, it’s more difficult to map an USB stick to be able to copy the file. Note that these steps below do the exact same thing as the copy does.
You’ll first need to login to the host itself, trough the host console. You can do this from within the interface of Proxmox. Just open the console, and login with root, you don’t need a password. Then, use login to drop to a shell. This is enough to access the host shell, but since the console doesn’t work nicely, we want to continue to enable SSH.
Now, I assume you are already running the Terminal & SSH Add-on, and have it configured with your public key. Go to your .ssh directory by running cd /root/.ssh/, and next, copy the authorized_keys file to the host. You can do this with docker cp addon_core_ssh:/root/.ssh/authorized_keys . (Note the single dot at the end of the command). To be sure, give it the right permissions, but this should already be the case. chmod 600 authorized_keys
Finally, you’ll need to start dropbear. You can do this with systemctl start dropbear.
You can now connect to your host with ssh root@hass -p 22222. Replace the hostname if needed.
I may have misunderstood the instructions or my problems are from running the VM in ESXi rather than Proxmox.
Where does one type the docker command to copy authorized_keys? If I do it at the HA prompt, I get the docker help command output. If I first use login to get into the host OS and then type the command, I get an error about trying to do this on a read-only file system.
After that, where do I type the chmod and service commands?
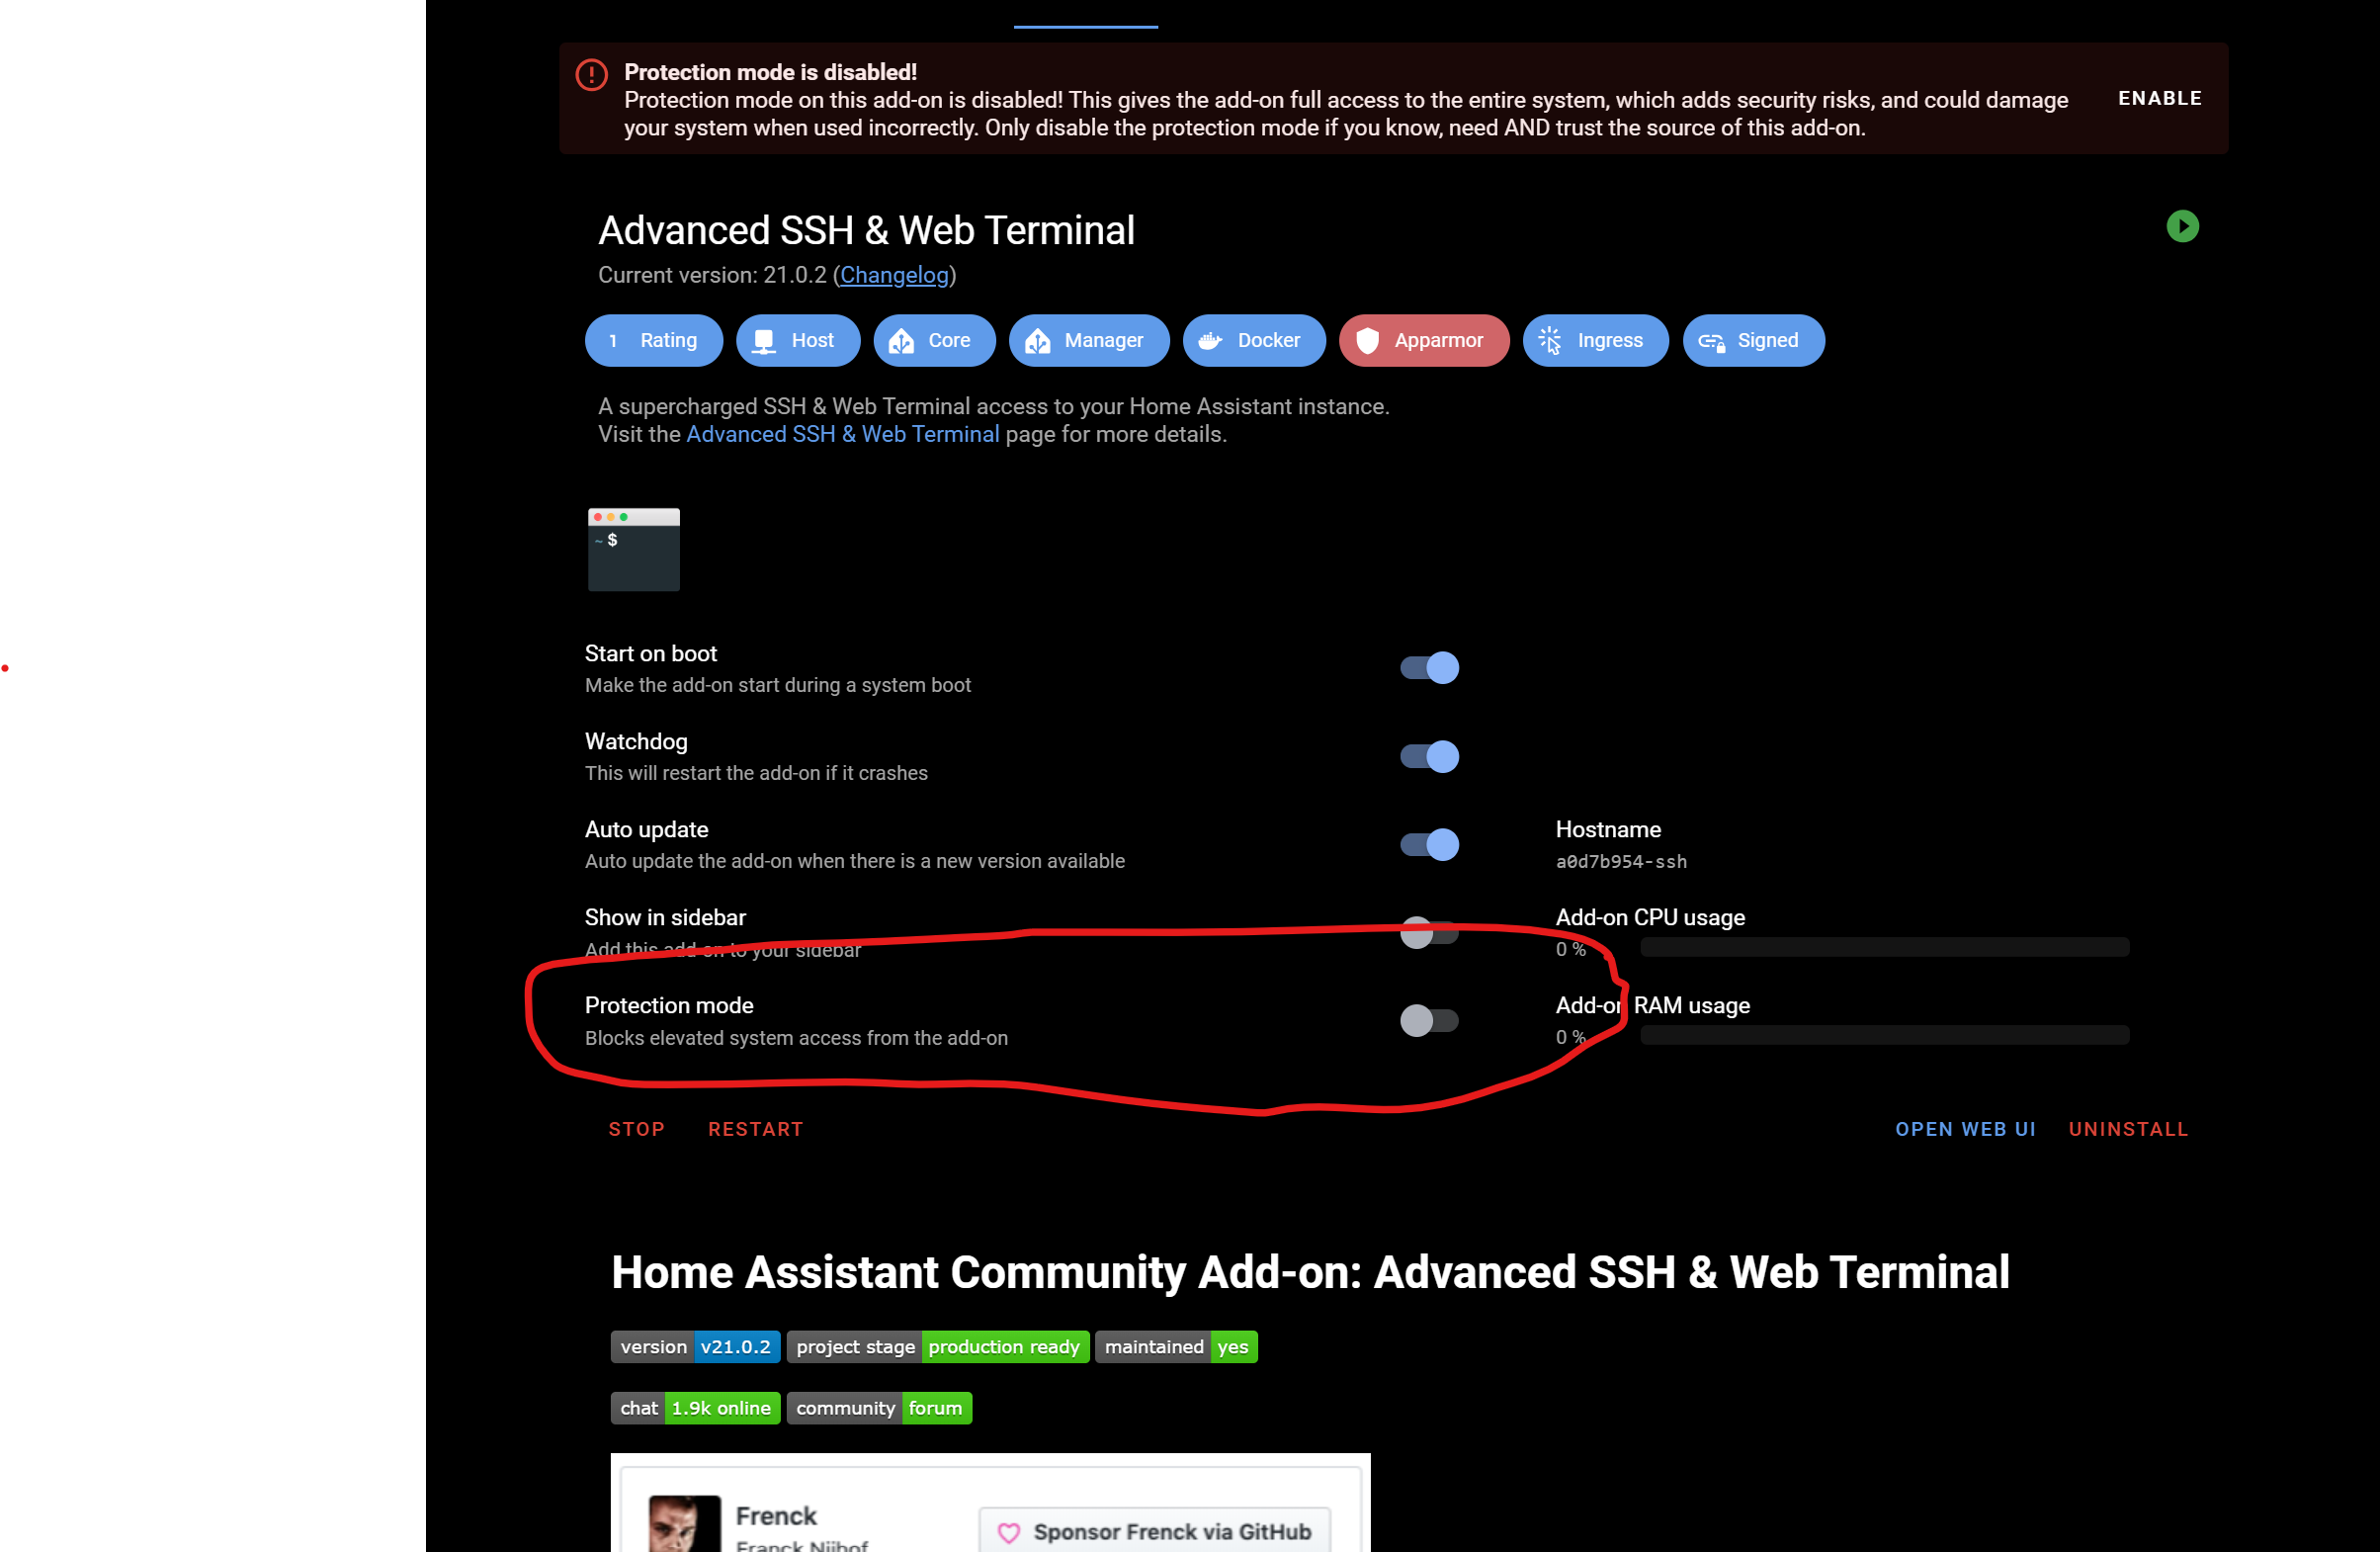
If your goal is just to be able to use the docker CLI thre’s a much simpler solution. Install the SSH & Web Terminal addon (the one from the community add-ons repo not the one in the offical addons repo) and then turn off protection mode. You’re still ssh’ing into a container but then the docker CLI is available to you.
You need to have an authorized_keys file in the .ssh directory under the home folder. Assuming you’re logging in as root, this is /root/.ssh/authorized_keys. Try running systemctl status dropbear and it will tell you this.
What user & pw am I supposed to enter here? I try the ha user xxx & its pw (used to login in ha web UI) but it says Login incorrect. It returns the same error when I try the root user (used for the ssh in the first place) before I can enter the password.
I swear I’ve done this successfully before, but I too am now encountering this issue. When I put my HA username and password in, it circles right back to the HA logo and ha> prompt.
I came here to say I would also think this worked OK before with the Advanced SSH add-on with protection mode disabled. I could only make this work either by (1) access it by the Synology VM connection, where login doesn’t ask for username/password, or by (2) this guide - not too fast but also not complicated Debugging the Home Assistant Operating System | Home Assistant Developer Docs .
I think though I’m not precisely sure, that login DID actually do it? Or maybe I just started typing bash commands in there and that worked? Can’t recall. I know I was using it the other day to check MQTT stuff and it was working fine.
I ran into same issue. In documentation it is said that the SSH & Web Terminal addon does not bring you to the Host.
I don’t know where you set the ‘protection mode’ off!? Please explain.
Copy the top part in PuttykeyGen where it says: “Public key for pasting into OpenSSH authorized_keys file” and paste in Notapad++. Set encoding to ANSI through top menu(very important because that was my mistake as Notepad++ was set to UTF-8 default)
Save the file as authoriziont_keys file to usb stick(with partition name CONFIG and in FAT format). Not extension to the file
stick the file in HomeAssistant device
go to SSH & Web Terminal addon and run : ha os import
Now to connect open Putty and make sure you load the private key under connections > ssh > auth > credentials.
Go back to session and click save.
After that I could connect with putty to host on 22222