Go to the settings tab of your Unraid server and ensure that VM’s are enabled in the VM Manager settings.
Go to your shares tab and ensure you have a “domains” share and that the SMB is set to export
Step 3: Copy the qcow2 image
On your computer, access the domains share and copy the qcow2 image to the share
Step 4: Setup New VM
Go to the VM tab of Unraid and select “Add VM” and choose Linux as the type
Give the VM a name
Select the cores to assign to the VM
Set the amount of RAM
Under “Primary vDisk Location” select “manual” and then select the image file we copied into the domains share. This will be located under “user” in the first drop down
Under “Primary vDisk Bua” select “SATA”
Pass through any necessary USB devices such as Zigbee hubs
Click “Create”
A new VNC window should open and run through setup. When you get to the login propt you can close the window
Step 5: Test Access
Open a browser and go to homeassistant.local:8123 to access your new Home Assistant instance
This isn’t a guide. It’s a link to a video that will soon be out of date. Post the written instructions in the first post in the topic so they may be edited in future.
Well they helped me out as my systems automation took out my hassio instance… as designed but not intended, so I just figured I’d throw hassio on unraid
I have been trying for days to get this to work. I can get as far as the Home Assistant is Preparing window. When I run ‘supervisor log’ I get a ton of errors about ‘supervisor has no internet connection’. I’ve fiddled around with DNS, Nameservers, gateways and have no idea why the supervisor can’t connect. I can Ping to external sites from the VM with no issue. At a complete loss and close to giving up. I just wanna free up a Raspberry Pi for another project.
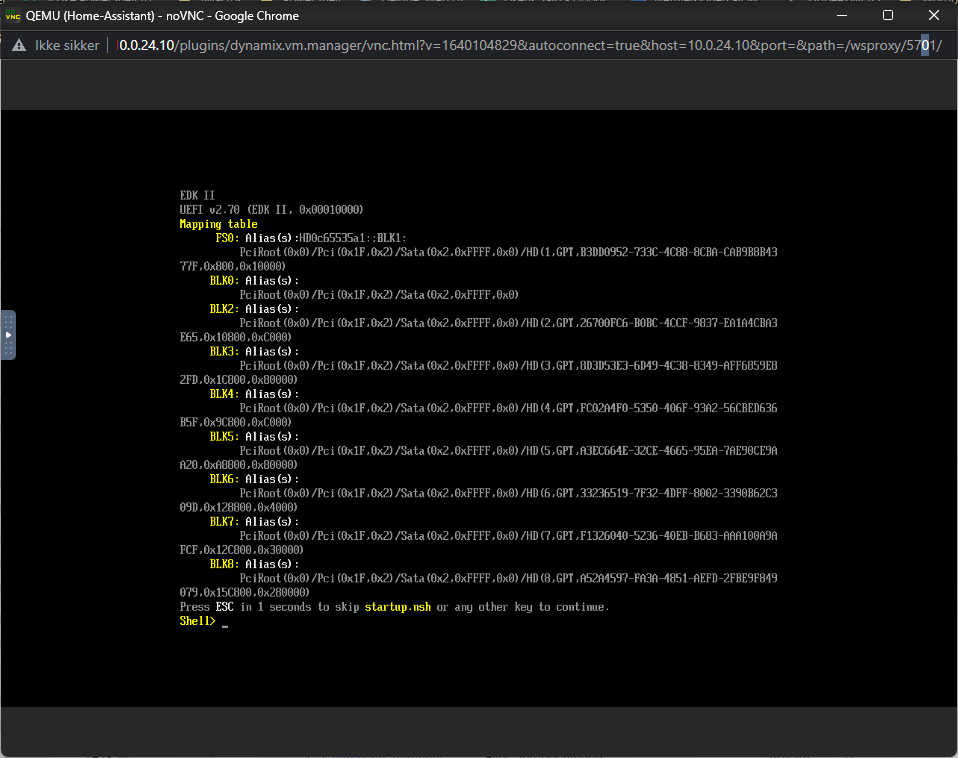
I think you’ve got the wrong image. I had this issue yesterday, there are a couple of versions of the qcow2 file, I tried the generic and got this message. I downloaded the next one down the list (can’t remember the name, but I think it was the next qcow2) and once I changed the drive it fired right up.
Hi all, Has anyone encountered issues with HA VM install on Unraid over the last few days? I followed the instructions as per above and the system is running. However after a while with the two pinned CPU cores the unraid host locks into a 100% CPU usage. When i quit the HA VM it sheds processes and the other apps including docker containers and host returns to functioning. I have posted the above issue on the unraid forum as well as there is another HA user there that installed around the same time as me and has the same issue. Any assistance would be amazing.
Thanks for that - very helpful. For Germany I selected the German keyboard and use the plugin "
Dynamix File Manager" to create the directory and upload the “qcow2” file. No need to export that share.
What about the USB port? I selected 3.0 qemu XHCI and it works fine with HmIP-RFUSB and HA SkyConnect (only Zigbee). What is “recommendet”?
I installed unraid on a Zimaboard 832 with 4 cores and 8 GB RAM. CPU2, CPU3 are pinned to Home Assistant and initial memory is set to 2GB. That work fine for my system with about 100 devices, 25 integrations (among them ZHA, HomematicIP, Shellys, Tibber, Node-RED, …) and 4 Add ons (Ring to MQTT, Samba, Google Drive backup, SSH). On Unraid I serve my files via SMB and use Docker container for Node-RED, Duplicati, Grocy, Mosquitto, Dashy, Uptime kuma)
I haven’t had any luck running the qcow2 image. In @DrMor’s post they suggest avoiding the aarch release, but in the GitHub Releases page there is only one qcow image haos_generic-aarch64-13.1.qcow2.xz as of the date of this post. I can’t get past the UEFI prompt in unRAID with this image, but I can with haos_generic-x86-64-13.1.img.xz. The problem is that it doesn’t include the qemu-guest-agent which makes it impossible to shutdown the VM from the host system.