Hi yravoul,
I love your dashboard colors and layout. But I’m struggling to get your Arbeitszimmer layout in my dashboard working. The code above, does it really match to your very first screen shot?
I have problems to get the temperature color to teal and there is still a vertical gap between the word “Arbeitszimmer” and the row starting with the temperature. Can you share your code again?
Most of the time, i do everything in this view but i have created a view for each room with more details and actions.
Also, i attempted to make the main view as much modular as possible. For example, if i don’t need to see location information or the remote, i can switch it off and then it’s replaced with other information. I do this with conditional cards and helpers. Here is an example if i switch on the “Dashboard Automations” helper on the upper right side:
We can see a few things in the above screenshot but the most obvious is that the remote has been now replaced with some options and automations. Also, we see on the left bottom side that now appears a notification in white about the presense in the living room. This appears because i have enabled the notifications. These notifications are conditional so if i leave the room it will dissapear. Another change we see is that i have expanded the “Living Room” button (middle column) and we can now see cards. This is the quick control of the key home devices and it’s what allows me not to navigate to other views.
So let me also say what i used on the dashboard. At first, i built it based on the latest update of HA that includes the sections but i also used a few cards and mods from HACS:
Card-mod gives us the gradients of a few specific cards and also is used by my theme.
Expander Card is used to put cards in a card that can be expanded or contracted as in the middle column.
Mini Graph Card is giving me nice graphs (see next screenshot)
Swipe card allows me to have multiple cards and swipe between them (see below screenshot)
Fold Entity Row visible on the apper right column on the screenshots, the “Dashboard Automation” has a small arrow and more options can be expanded using this card
In the next screenshot you can see the Fold Entity Row on the upper right and the Mini Graph Card in the middle displaying the temperature of my aquarium:
I have been working with Dashboards a lot lately. I came up with a new trick to edit dashboards that allows me to place all my widgets in absolute positions on the dashboard - resize each to any size, and even move them around using automations or buttons on the screen. I have not seen anyone do this before and wondered if anyone else was using this method.
Check out the video I made and let me know what you think!
BTW: the dashboard in the thumbnail is real, its just a screenshot!
I stand corrected - HACS is an Integration which can help you discover new custom elements such as Button Card which I used in this video. I apologize if I offended you, I am simply trying to share something new and exciting I found as part of a hobby I enjoy! I will do my best not to misspeak in the future!
I actually think this is a really cool way to enhance my dashboard’s, and I was just looking for some feedback from others.
sure, and that is appreciated. a lot. sharing is caring, no?
the thing is the terminology is very important, and the distinction between add-on’s found in the
and integrations for one thing is eminent. As you are aware ofc.
when providing support to our fellow community members, we keep having to explain the difference, so when watching your vid (we did! and I liked it) those mentions of add-on did stir us up a bit
maybe you can fix that, or comment on it.
keep up the good work, and especially in these vids that will stay on forever, be precise…
Not a favourite in any aspect, but its mine, and perhaps i atleast can provide inspiration to someone that in turn can create something great…
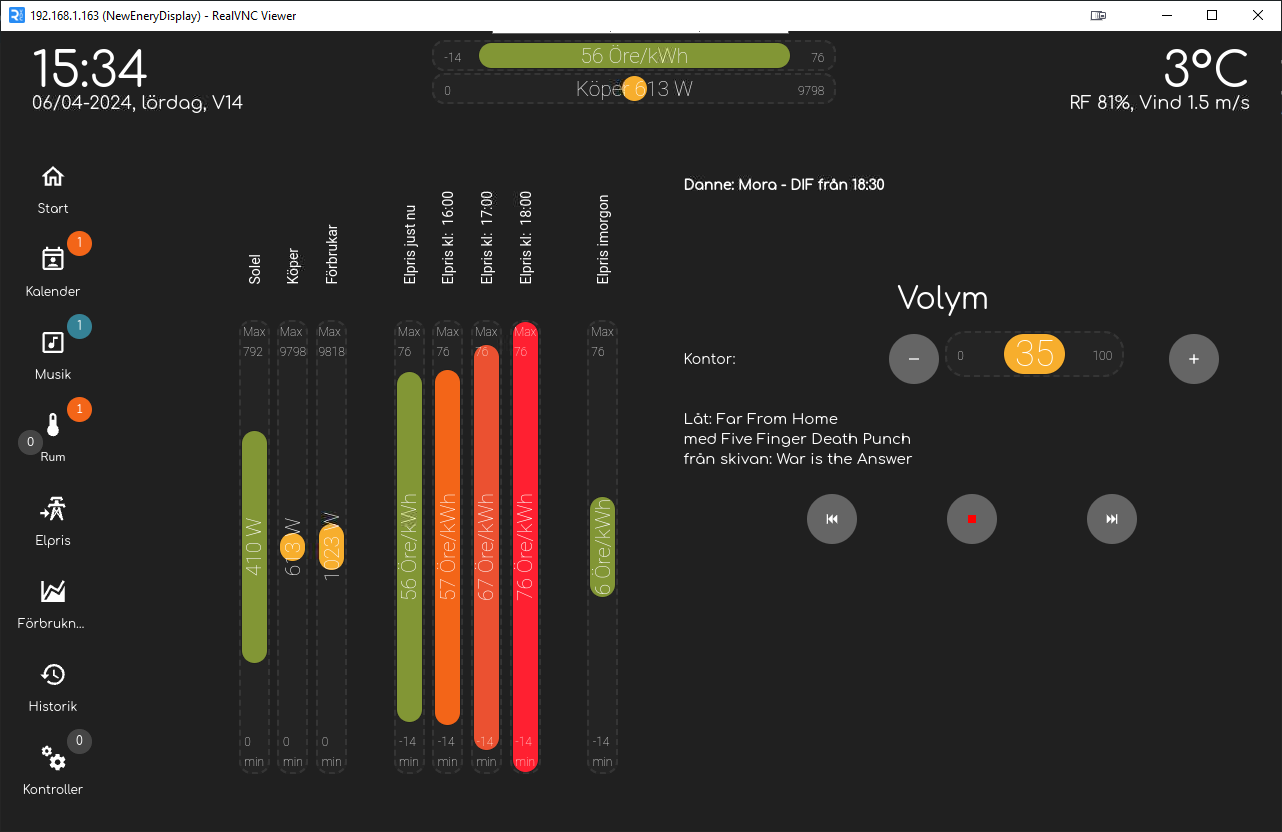
My take on a dashboard: the first picture shows the starting page displayed on the main hub in the house
The starting page displays current activities such as electricity snapshots, calendar events (upcoming and ongoing), media controls for active players, and more. If there isn’t much activity, it defaults back to a forecast.
Then, there are more in-depth views, such as all rooms in the house, with a pop-up for each item in that specific room, as shown below:
Not an absolute favorite, but rather my own shot at an intuitive wall mounted tablet dashboard that does not look like a total clutter.
The goal was to create a foolproof and easy controllable UI with large buttons for:
Media control and visual feedback when playing something trough Siri or remotes.
Vacuum detailed controls
Surveillance overview
Surveillance detail views (manually or pop-up when someone rings the doorbell).
AC control
This is a work in progress. No lighting controls since we don’t use these on the
wall tablet. I might add them in the future.
If anyone is interested in me sharing the yaml configs for these dashboard pages, just let me know and I will try to describe in more detail what I did here.
This is typically what I try to do on my tablet. Large buttons, a simple and not detailed display. I really like.
I would be interested in having your theme and an example of one of the pages!
THANKS!
Here’s a pastebin link with the raw config:
You can ad this to a new dashboard as a starting point.
You’ll need the following HACS and custom add-ons:
Custom card
Card Mod
Browser mod
Mini media player
Frigate (optional)
PS5 to MQTT with Oath token configured (optional)
Custom Vacuum card
Roborock HACS intigration (not the official one).
Horizon card
Simple clock card
After doing this you can edit on a per dashboard page bases.
Every dashboard page (with the exception of home) is a 1 panel card.
The grids are made with horizontal and vertical divider cards.
The images used are hosted by imgur. So they wil load up exactly as they are loading up in my installation. You can edit these by providing new Imgur links or local links in the .yaml configuration.
I think you can get pretty far on implementing this with your devices by changing the entity names in the configuration to change it to your media players etc.
The music selector buttons on the ‘now playing’ card is not a full Apple music integration but rather triggers input booleans. Those trigger some Apple Music playlists via Homekit. It’s not as good as a full music selector but it’s really nice to quickly get some music playing in the room, without shouting at your smart speaker or bringing up your phone.
Lastly, you can add some browser mod automations to switch between the pages.
Some of mine are:
When my smart speaker starts playing music, then bring up now playing.
When the doorbell gets ringend or motion is sensed, then bring up the detail view of the doorbell camera.
I’m still working out some ideas with this and i’m looking for a more reliable way to switch to diferent pages. Browser mod seems to be hit or miss on navigating to a new dashboard page.