Zigbee Map - Visualize your mesh network

I just finished putting together a custom panel for Home Assistant called Zigbee Map, and I’d love for you to try it out and tell me what you think!

What It Does

Zigbee Map gives you a live, interactive view of your Zigbee mesh network. It talks directly to Zigbee2MQTT and builds a graph of all your devices (coordinator, repeaters, end-devices) based on actual LQI data.

Note: The web app retrieves its own data directly from the devices, it does not reuse the network map data collected by Zigbee2MQTT.

Requirements

Zigbee Map works with Zigbee2MQTT installations that expose a WebSocket API.

You can use it in two ways:

  1. Automatic mode: Zigbee2MQTT installed as a Home Assistant Add-on
    The integration automatically detects the WebSocket URL through the Supervisor API.

  2. Manual mode: Zigbee2MQTT running outside Home Assistant
    You can manually enter the WebSocket URL in the Zigbee Map configuration options.

How to Install

You’ve got three options:

1. Manual Installation

  1. Download the zigbee-map-panel.js and zigbee-log-panel.js panel scripts.
  2. Place them into config/www (create the www directory if it does not exist).
  3. Add the following snippet to your config/configuration.yaml file:
     panel_custom:
       - name: zigbee-map-panel
         url_path: zigbee-map
         module_url: /local/zigbee-map-panel.js?v=2.6.0
         sidebar_title: Zigbee Map
         sidebar_icon: mdi:hub
    
       - name: zigbee-log-panel
         url_path: zigbee-log
         module_url: /local/zigbee-log-panel.js?v=2.6.0
         sidebar_title: Zigbee Log
         sidebar_icon: mdi:list-box-outline
    
  4. Restart Home Assistant.
  5. The Zigbee Map and Zigbee Log panels should now appear in your sidebar.

2. Install using GPM

If you prefer to avoid editing configuration files manually, you can install and update this integration using GPM (Git Package Manager). This method also enables automatic updates.

Install using GPM
  1. Navigate to SettingsDevices & servicesGPM
  2. Click Add entry
  3. Paste the repository URL: https://codeberg.org/dan-danache/ha-zigbee-map
  4. Click Submit
  5. Restart Home Assistant
  6. Go back to SettingsDevices & services
  7. Click Add integration (bottom right corner)
  8. Search for Zigbee Map and select it
  9. Click Submit, then Finish
  10. The Zigbee Map and Zigbee Log panels should now appear in your sidebar

3. Install using HACS

If you prefer managing integrations through Home Assistant Community Store, you can install it directly via HACS.

Install using HACS
  1. Click the button below to open HACS:
    Open your Home Assistant instance and open a repository inside the Home Assistant Community Store.

    • Repository: https://github.com/dan-danache/ha-zigbee-map
    • Type: Integration
  2. After HA is restarted, go to SettingsDevices & services

  3. Click Add integration (bottom right corner)

  4. Search for Zigbee Map and select it

  5. Click Submit, then Finish

  6. The panel(s) should now appear in your sidebar


Note: See the Readme file if your Zigbee2MQTT installation is running outside Home Assistant (Docker, another machine, etc.).

Links

Have fun!


Latest release Open issues Open a repository inside the Home Assistant Community Store Integration installs Buy me a coffee

11 Likes

What has to be done if your Zigbee2MQTT is not run as an add-on ?

1 Like

The web app communicates with Zigbee2MQTT through its websocket interface. When Zigbee2MQTT is installed as an add-on, the websocket is conveniently exposed via ingress on the same domain, which avoids any CORS issues and also configures security via the ingress session cookie.

Unfortunately, I don’t have a non add-on setup available to test or troubleshoot further, wish I could help more!


Edit: Starting with version 2.3.0, Zigbee Map can connect directly to Zigbee2MQTT installations running outside Home Assistant (Docker, separate machines, etc).

Pity. The maps in the new Windfront frontend are almost useless. And Windfront will soon be the default.

1 Like

Nice.

2 Likes

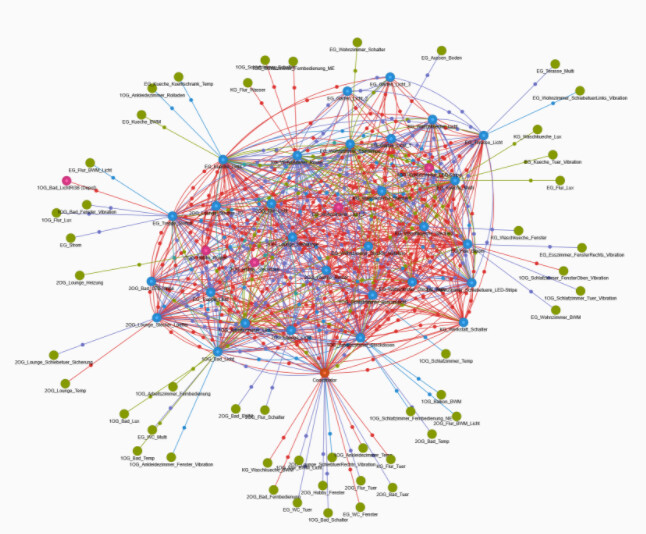
Tan into the same issue, that’s actually why I built this tool. The map interface was too confusing to be useful, and with some of my devices acting up, I needed a clearer way to identify where to place additional repeaters and which devices to remove.

Initially, I considered integrating it directly into Windfront since I have direct access to the websocket. Unfortunately, neither the old nor the new frontend supports extensions or add-ons, so I had to build it separately.

Whooa, that’s a big mesh right there! :+1:

Is there a way to make all the end devices automatically end up on the outside of the node map?

This is nice, very nice!

1 Like

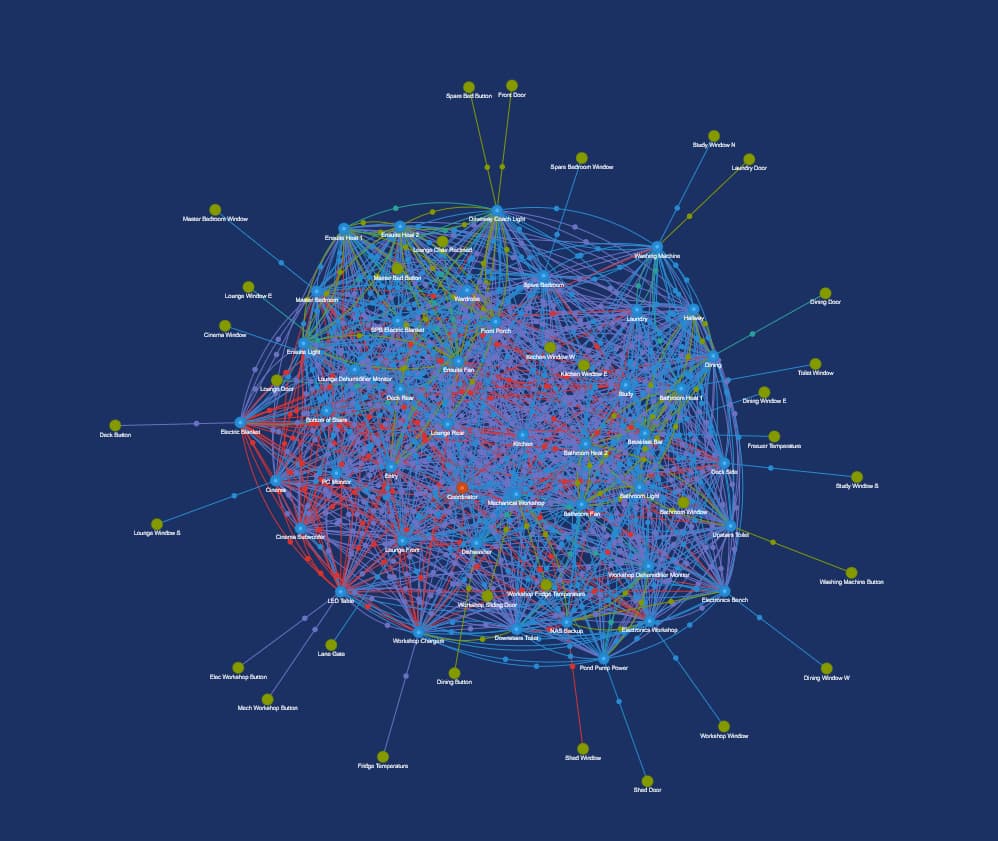
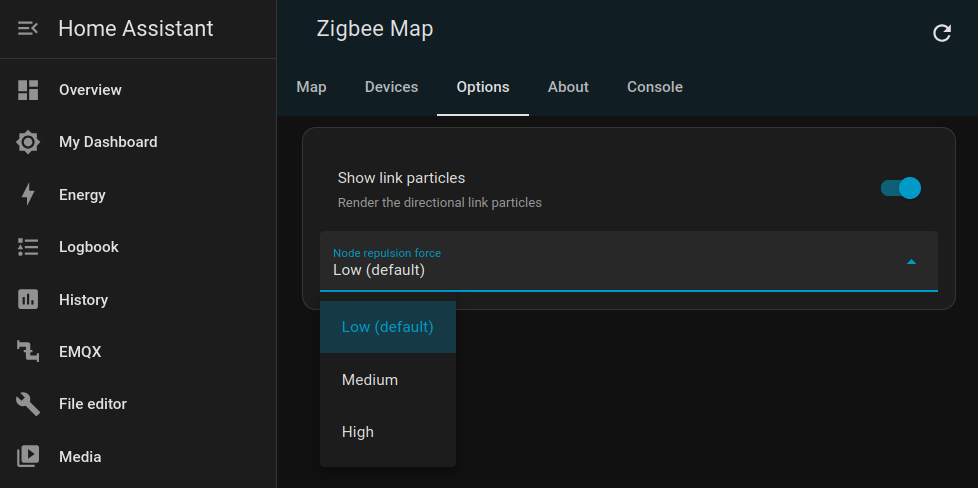
They naturally tend to go outside, but if there are a lot of nodes they might get tangled inside.

You can try to grab a repeater node (preferably one that has some children) and drag it repeatedly thru the thick mesh; it will disturb the nodes inside and maybe make way for the green ones to migrate outside.

Otherwise, you can manually drag the repeater nodes with children and place them towards the edge of the graph.

Great work!

Agree this is MUCH better than the Windfront maps.

The tabs (Map, Devices, Console, About) are neither clickable or tab stops for me. I tried multiple browsers under Win10.

It would be nice if device labels could exposed so the browser’s find (ctrl-F) could be used to highlight/find a device.

1 Like

Sorry about that, the app is using the same web components that the HA front-end is using. Do you have the same problem with other tabs, for instance the tabs on the “Developer tools” page? Do you have the same problem with the mobile app? I’m thinking maybe you are using an older version of the front-end.

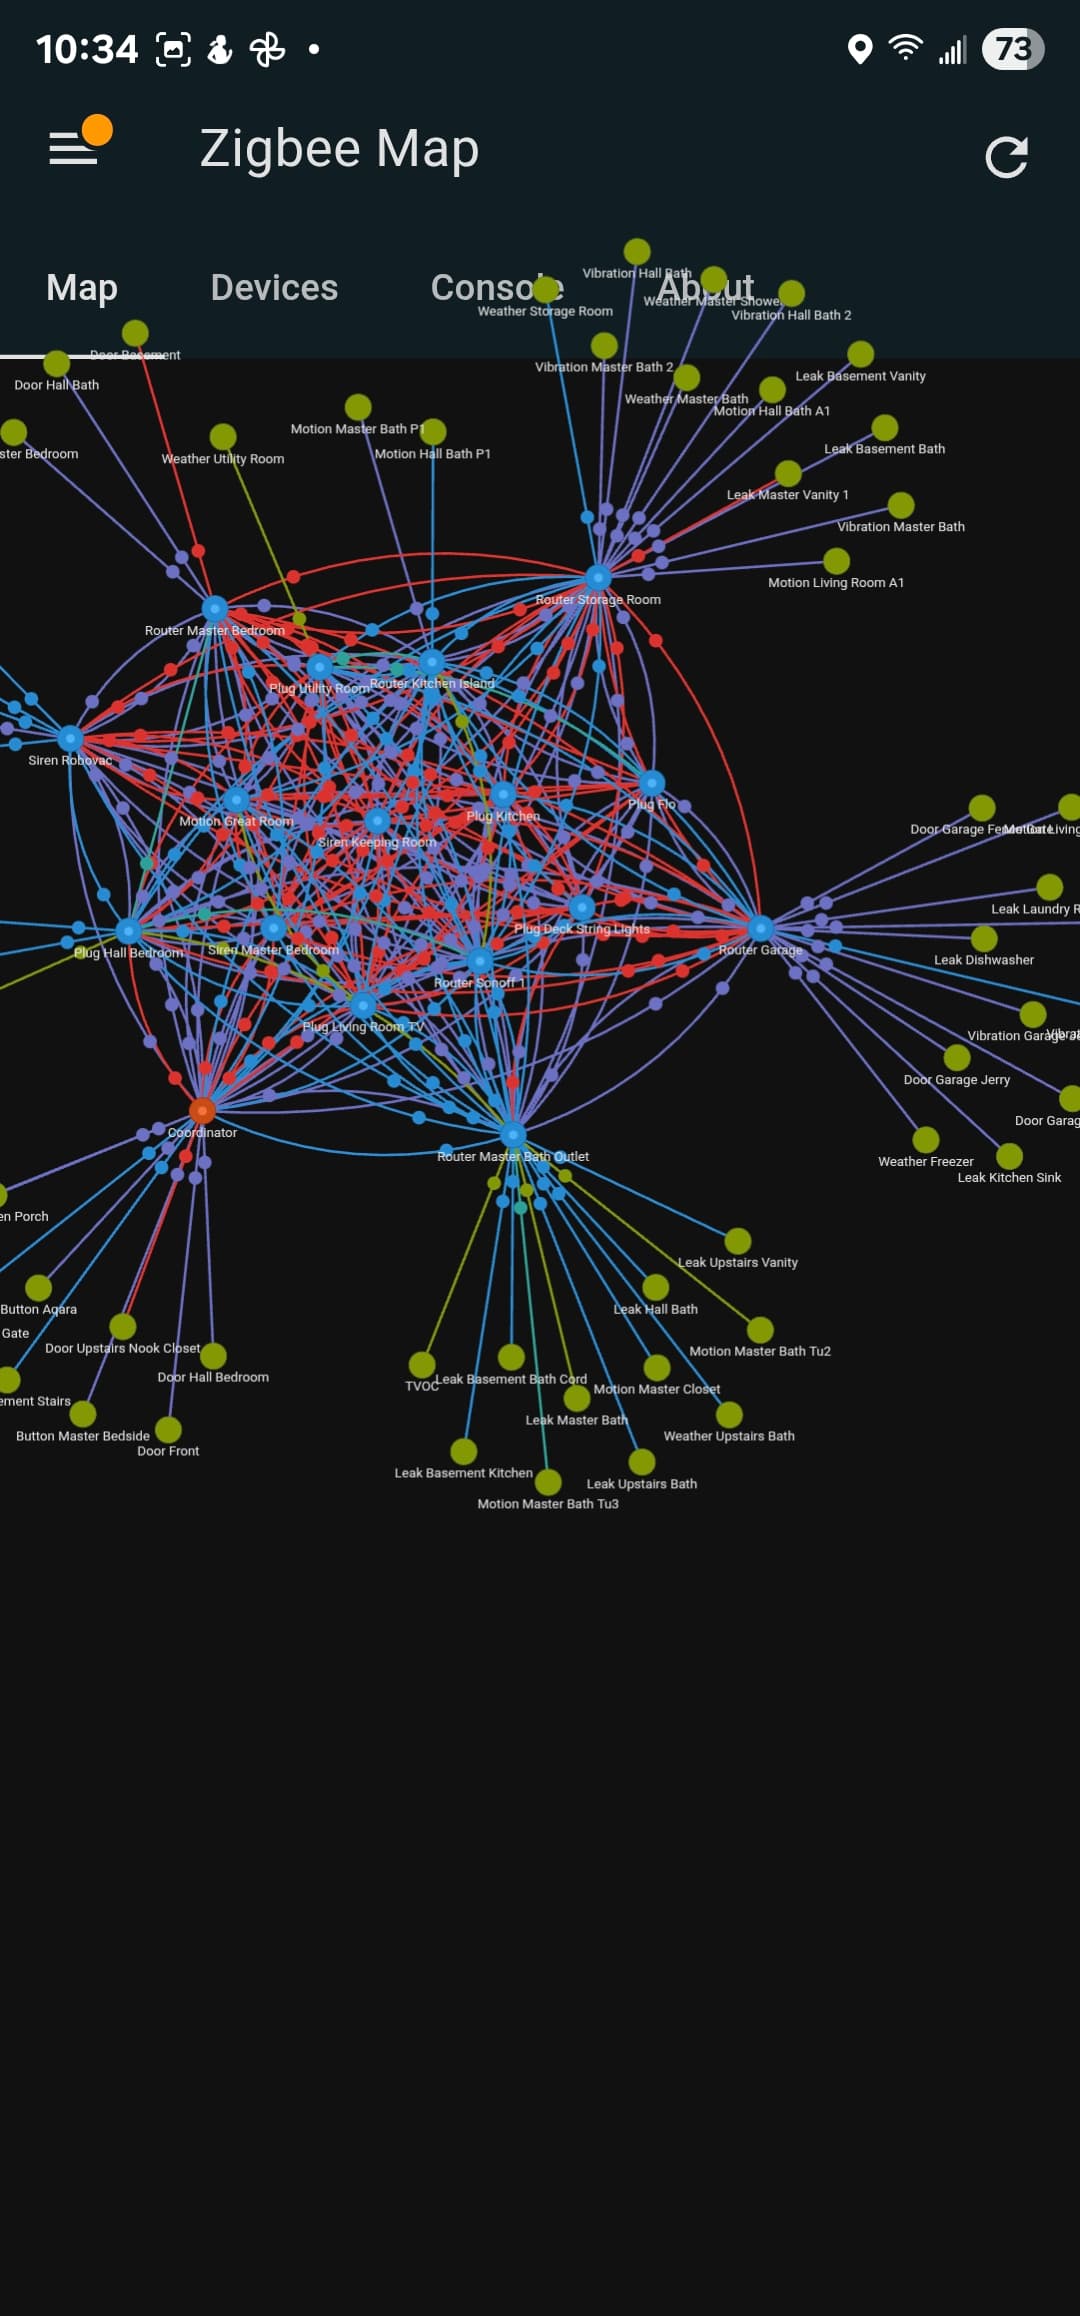
What you can try as workaround: click the “Map” tab (it won’t do anything, but will put the focus on that tab), then use the right arrow to navigate to the next tab (for some reason the tabs don’t use tabs for navigation).

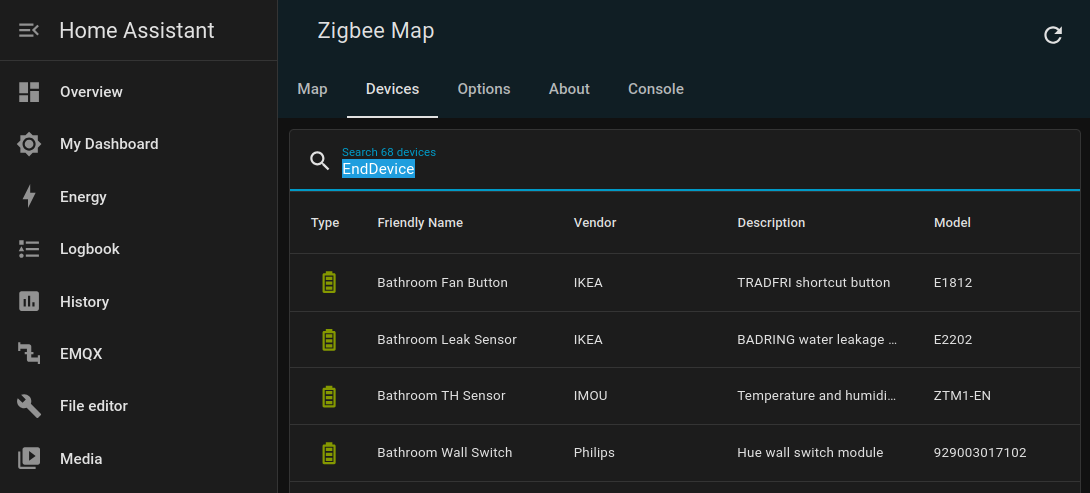
You can do this scenario by going to the “Devices” tab, search for the device you want, then click it. It should change the view to the “Map” tab and zoom-in on that specific node.

But you are right, ctrl+F is the more natural way of doing it.

All tabs on other pages are fine. On the map tabs, they are completely non-responsive, no mouseover cursor change, etc. I get the same no click/no tap behavior in the HA Android app as well.

It acts as if the map layer is on top of the links. If I double click on tab area, the map recenters/resizes just as if I was double clicking on the map area. Dragging the map around will place items on top of the tab links.

Sounds perfectly workable if I could get to the Devices tab.

Also, FYI, I’m on 2025.5.3. I’ll try upgrading tonight to see if that helps.

1 Like

Upgrading HA to 2025.8.2 resolved my tab issues.

The fix would just be to update the minimum requirements in the docs to 2025.8, or whatever release you know is safe.

1 Like

Released version 1.0.1 with the following small fix:

Fixed

  • Fix map container position - @jerrm

Have fun!

1 Like

Very nice! I randomly thought to myself, how can I map my Zigbee network to visualize it on HA?, so I googled “home assistant zigbee2mqtt mesh map” and this was the first result. I wanted something on the panel so I don’t have to go into zigbee2mqtt. Crazy that you just submitted this post 2 days ago. great timing, hehe. works well and simple to set up, thank you.

1 Like

Serendipity strike :grinning: Glad it popped up right when you needed it!

Very good! Glad I saw this post.

This helps me very much to visualize the mesh and to detect possible problems. There should be none at the moment. Enough powered devices (39 out of 101).

1 Like

Released version 1.1.0 with the following improvements:

Added

  • Add “Show link particles” option
  • Add “Node repulsion force” option
  • Search for EndDevice or Repeater to filter device list by device type


Have fun!

4 Likes

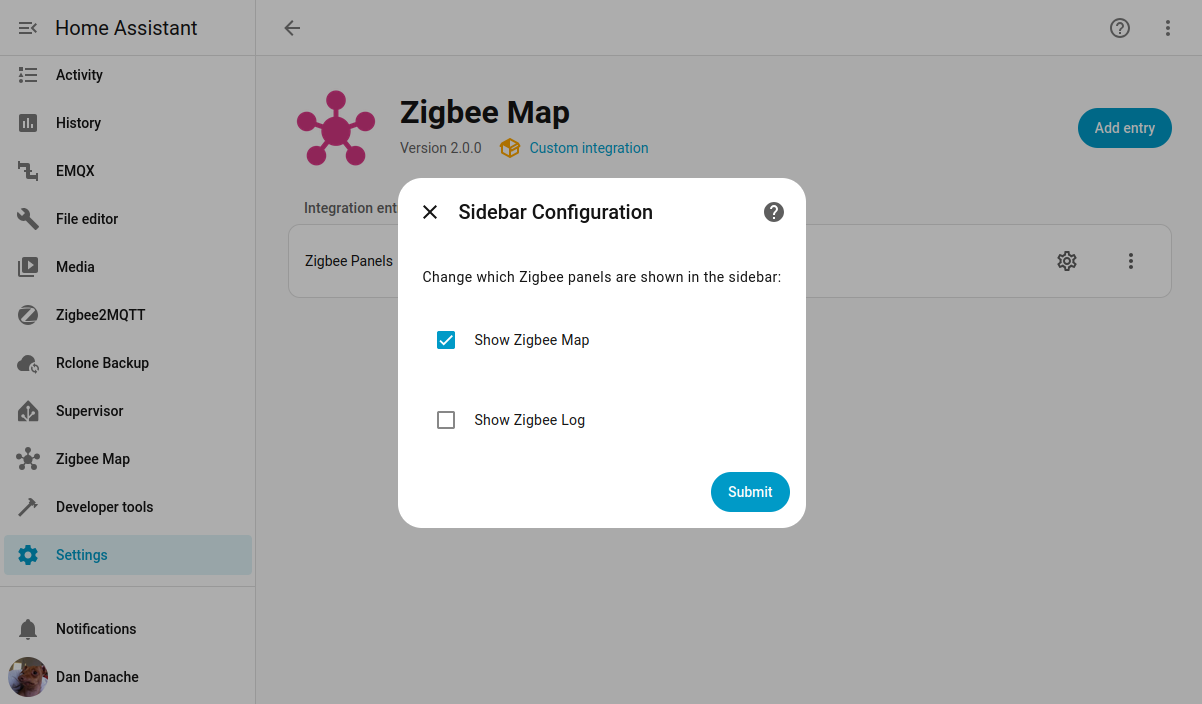
I have it setup the manual way like you recommend. Is the update automatic upon a restart? Or do I need to redo the panel script step and restart? I’m assuming the latter lol.

First, you need to redo steps 1 and 2, basically just overwrite the contents of conf/www/zigbee-map-panel.js file with the new version. No restart required.

Then, you probably need to fight the aggressive caching used by the frontend:

  • on mobile: go to Settings → Companion app → Troubleshooting → Reset frontend cache → close and reopen app
  • on desktop: try Ctrl+Shift+R or clear the browser cache
2 Likes