G'day HA community,
![]()
![]()
![]()
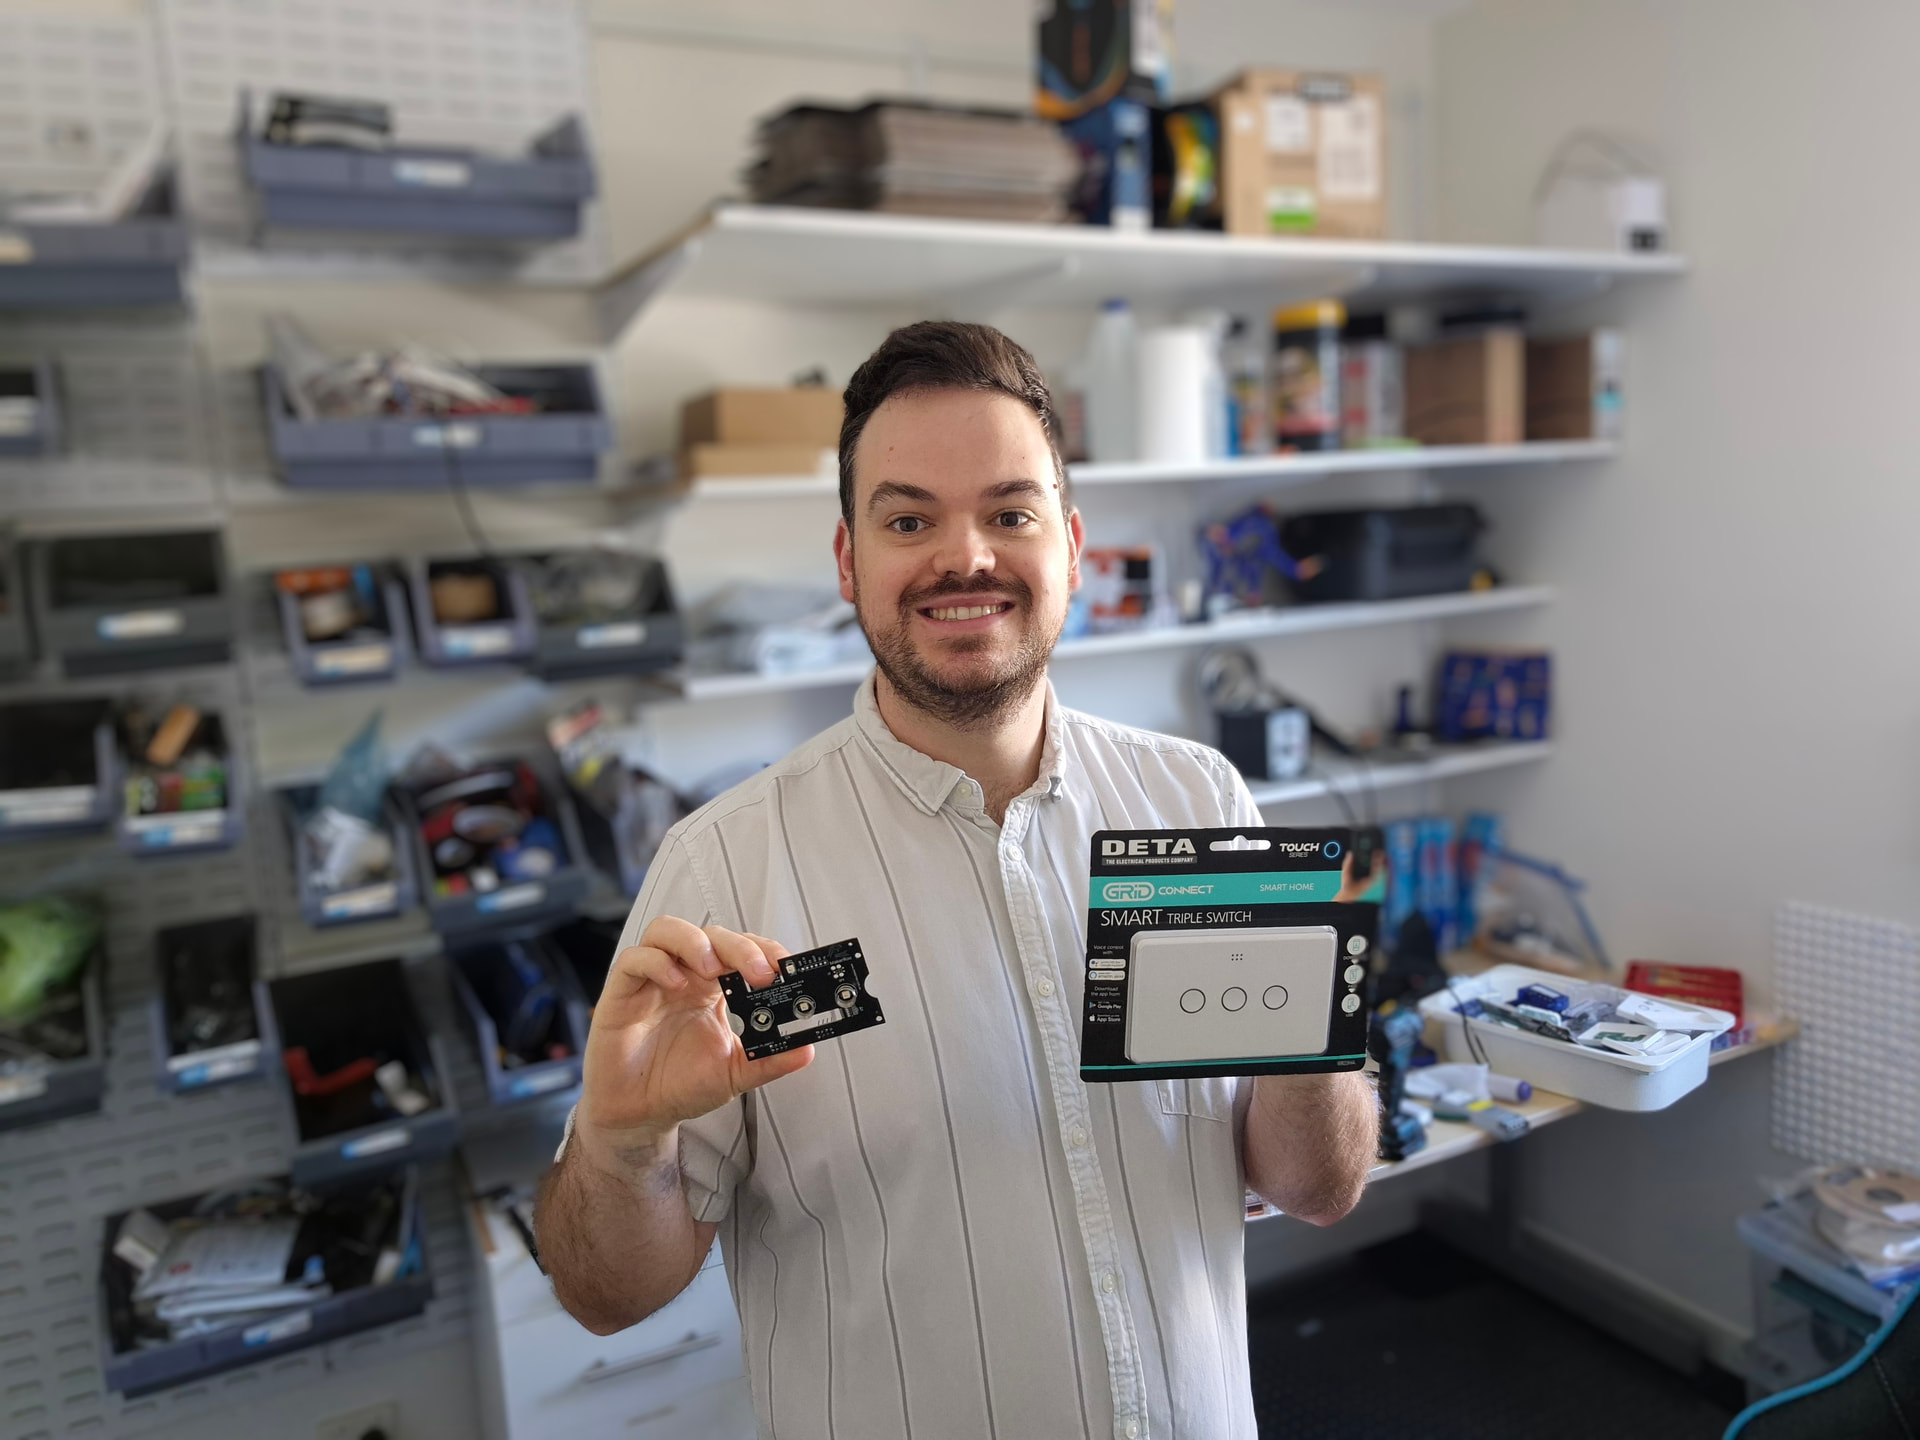
I'm Sam, a Melbourne-based developer. A couple of years back I posted this thread about hacking Deta switches with a hot air gun and bodge wires. That project has turned into something bigger, and I wanted to share where it's at now.
The Problem
I outfitted my place with Deta smart switches from Bunnings. Almost immediately, I hit the classic smart home wall: cloud dependencies and lag.
The physical button on the wall worked locally, but turning the light on via the app meant the command had to bounce to a server in another hemisphere just for permission to turn on. If the internet or my hub went down, my automations broke.
I wanted smart lights that were actually smart, and I wanted a built-in motion sensor so the light would auto-timeout.

The Hack
So I voided the warranties. Since flashing the original Tuya chips over-the-air had been patched out by the manufacturer, I took a hot air gun to the board, ripped out the stock chips, and swapped in a single ESP microcontroller.

To fit the motion sensor, I had to get creative. I used the space on the board meant for the antenna keepout and created a tiny custom PCB to hold a Panasonic PIR sensor, gluing it directly into place. Because that keepout space was gone, I had to use an ESP module with an external antenna hanging out the back of the switch.
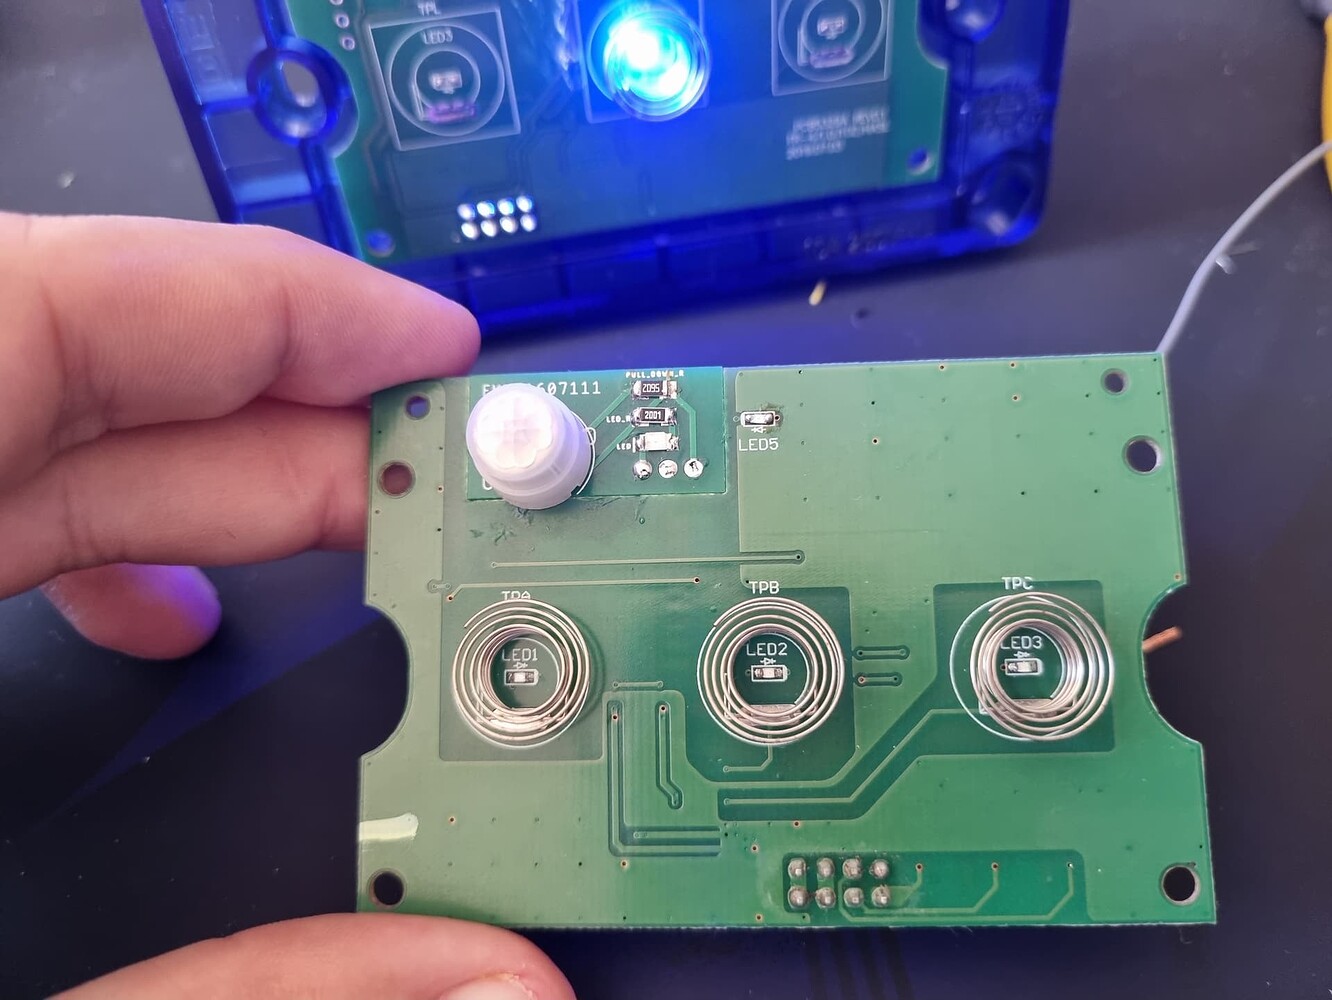
I didn't just want basic on/off control. I wanted a proper state machine. I de-soldered the button indicator LED resistors and used tiny wires to hook them up to separate ESP outputs. This decoupled the button LED from the actual light load logic, opening up the ability to flash the LEDs to indicate state changes without the actual room lights flashing like a rave.
I flashed it with ESPHome, built the custom state machine to handle the logic completely locally, and shared it in that original thread.
From Bodge Wires to a Clean PCB
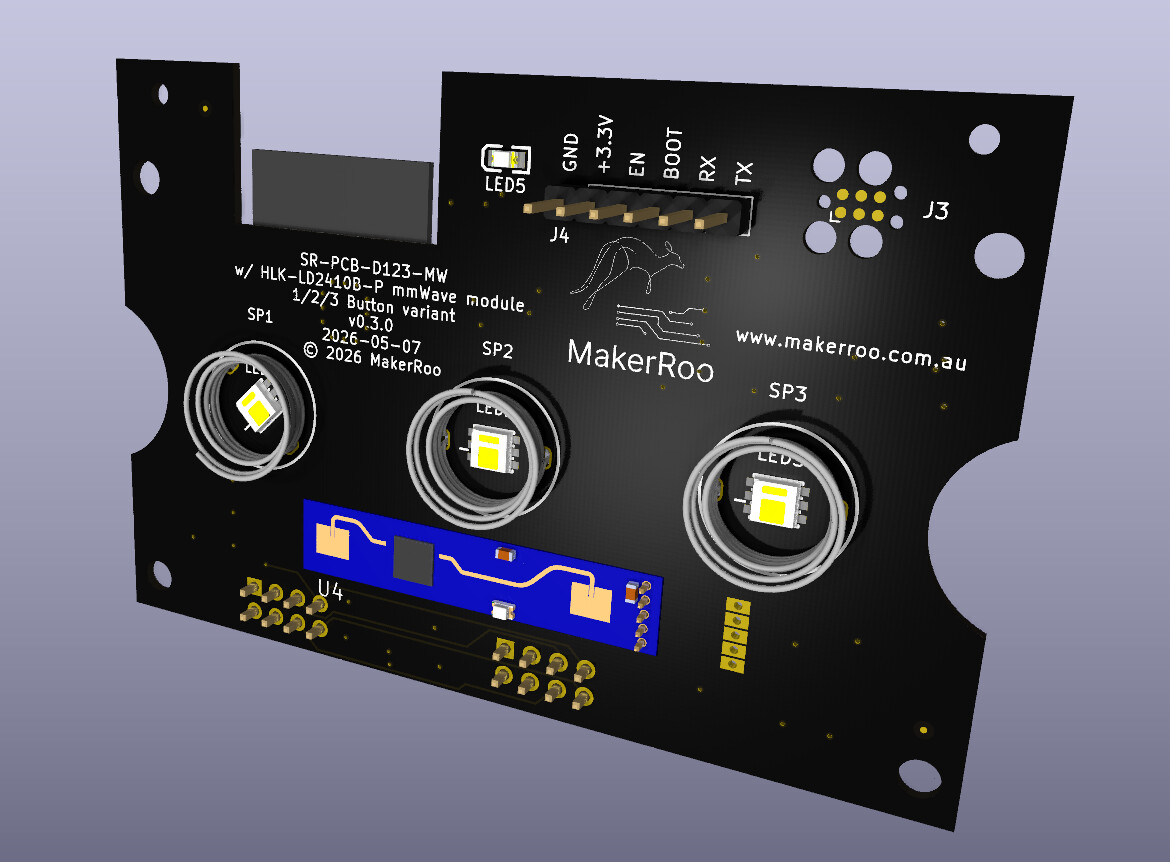
Looking at all the tiny bodge wires and glue inside my prototype, I started sketching the outline of the original logic board. I realized I could just design my own custom PCB to replace it entirely, avoid the messy hacks, and do it clean.
Since I was spinning my own board, I wanted to future-proof it. I chose an up-to-date ESP chip with the hardware required to support Zigbee and Matter/Thread (we're still waiting for official ESPHome support for these, but it's actively being worked on). I also took the opportunity to upgrade the buttons and indicator to RGB LEDs.
Initially, I wanted to keep the PIR sensor like my hack-job, but PIR requires a clear line of sight. That meant drilling a hole in the front faceplate. I 3D printed a few test plates with the hole in the correct spot, but honestly, it ruined the aesthetics. I much preferred the clean, factory injection-molded look.
That led me to research mmWave sensors, which can "see" right through the plastic faceplate. I found a well-supported module in ESPHome that fit my design perfectly.
What is SwitchRoo?
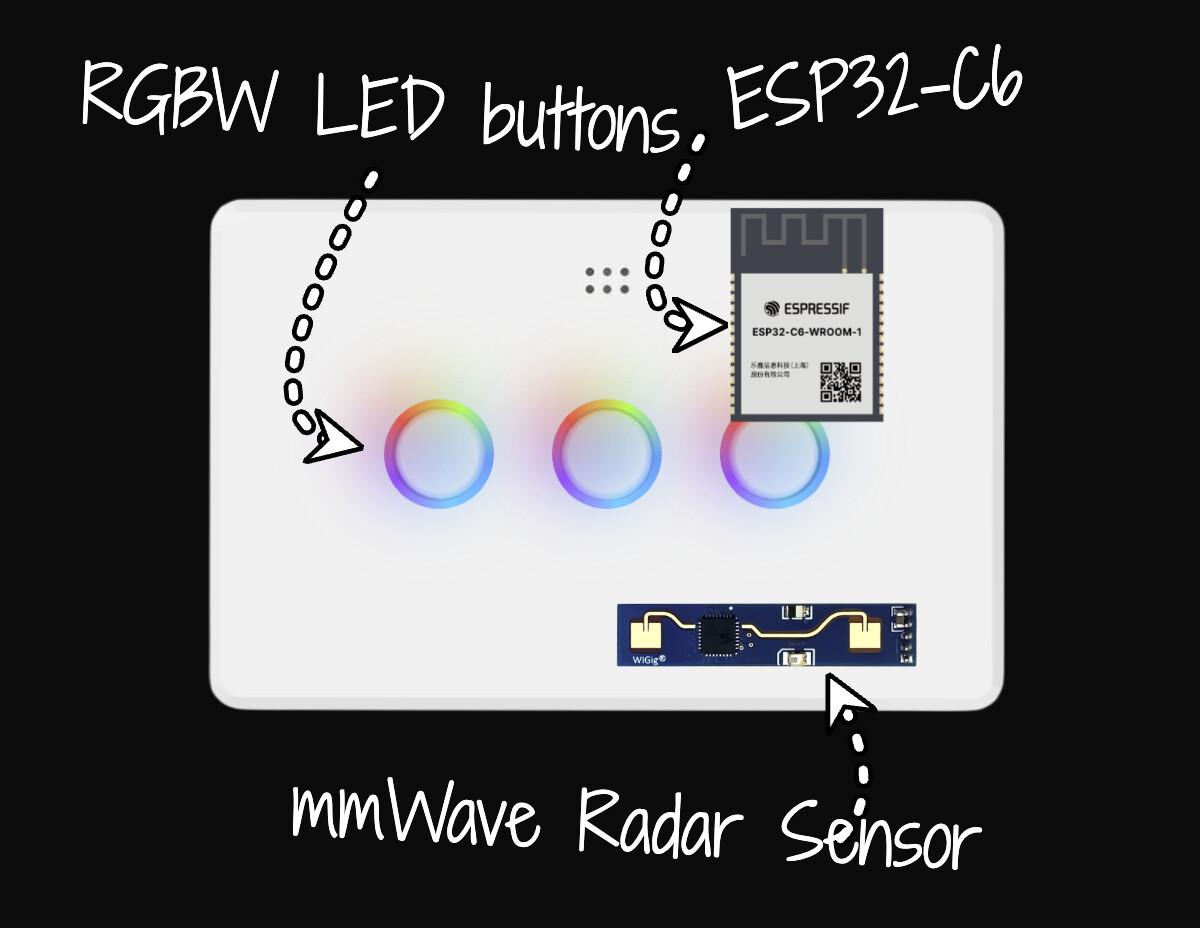
That's what became SwitchRoo: a drop-in replacement PCB for Deta smart switches that brings ESP32-C6 chips (hardware ready for Zigbee/Thread), optional mmWave radar presence detection, RGB LEDs on each button, and full local control via ESPHome.
No more always-on blue LEDs. No cloud dependency. Full Home Assistant integration with the customization the HA community actually wants. Want your button LEDs to show a state machine or indicate which rooms have lights on? You can do that.
Doing It Properly
Transitioning from a bench-top mod to a real product has been a massive journey. I'm deep in the weeds of electronics manufacturing: evaluating pick-and-place machines, managing reflow ovens to handle runs of hundreds of boards, and navigating the strict EESS and ACMA regulatory standards.
It takes a lot of effort to jump through the compliance hoops, but it means the final product will be fully certified and ready to be legally installed by any licensed electrician in Australia or NZ.
Right now, I'm finalizing a 4-layer board revision for better EMI performance, building an automated test jig for production QA, and waiting on ACMA compliance quotes from labs. Prototype 2 is done and tested. Launch lineup is SR-D1 through SR-D4 (1-gang to 4-gang), with standard and mmWave variants for each.
Why This Matters
There's nothing else on the Australian market that combines local-first control, native HA integration, Matter/Thread hardware readiness, and proper ACMA certification. Most smart switches force you to pick two of those at best.
The original Deta switches are cloud-dependent. Imported alternatives either aren't ACMA certified (which matters if you're going through council approval or selling a house) or they're locked into proprietary ecosystems. Flashing aftermarket firmware got patched out by manufacturers years ago.
SwitchRoo is purpose-built to solve this.
Bigger Picture
Here's what I'm excited about longer term: these off-the-shelf switch housings are everywhere. Electricians know how to install them. They fit standard wall boxes. They're cheap.
Once you've got a low-voltage PCB platform that drops into that form factor, it's not just a light switch anymore. It's a standardized mounting point for any human interface you want around your home. Touchscreens. E-ink displays. Sensor panels. Room controllers. Whatever you can fit on a PCB.
Want to add a small control panel next to your existing light switches? Use the same housing, same installation process, different board. That's the direction this could go.
Join the Community
I've set up a Discord server for anyone who wants to follow along more closely, ask questions, share ideas, or help out. There's also a blog with regular updates and a waitlist for launch.
Whether you've got compliance advice, ESPHome expertise, or just want to chat about the project, come say hi.
Cheers,
Sam