Here are two strategies for receiving payloads published by a Sonoff RF Bridge (flashed with Tasmota firmware).
Strategy 1: value_template
In this strategy, all sensors are subscribed to the same topic published by the RF Bridge. The topic's structure depends on how you defined it when you configured *your* RF Bridge. This example will use `tele/RF_Bridge/RESULT`. Change that to whatever you have set for your Bridge.Because all sensors are subscribed to the same topic, a sensor will receive payloads intended for another sensor. When this happens, its value_template has to produce a valid state. If it doesn’t, Home Assistant will report the following warning message: “No matching key found for entity”. The sensor’s value_template must always returns a valid state.
For an MQTT Binary Sensor, the default for payload_on is ON and for payload_off it’s OFF (i.e. uppercase). On the other hand, the state of a binary_sensor can either be on or off (i.e. lowercase). Keeping this important distinction in mind, we can use it to construct a value_template that ensures the payload always matches something and never nothing.
In the example below, if the payload contains neither 2C8D0A or 2C8D0E, it reports the binary_sensor’s current state. In other words, no matter what it receives in the payload, the value_template always reports a valid state.
- platform: mqtt
  name: 'Bathroom Door'
  state_topic: 'tele/RF_Bridge/RESULT'
  value_template: >-
    {% if value_json.RfReceived.Data == '2C8D0A' %}
      {{'ON'}}
    {% elif value_json.RfReceived.Data == '2C8D0E' %}
      {{'OFF'}}
    {% else %}
      {{states('binary_sensor.bathroom_door') | upper}}
    {% endif %}
  device_class: door
If you have a sensor that does not report an off state then you can compensate by using the off_delay option.
In this example, Data=E5D30E indicates the motion sensor is on but there’s no command available to indicate when the sensor is off. I have set off_delay: 15 so the motion sensor will automatically set itself to off after 15 seconds.
- platform: mqtt
  name: 'Hallway Motion'
  state_topic: 'tele/RF_Bridge/RESULT'
  value_template: >-
    {% if value_json.RfReceived.Data == 'E5D30E' %}
      {{'ON'}}
    {% else %}
      {{states('binary_sensor.hallway_motion') | upper}}
    {% endif %}
  off_delay: 15
  device_class: motion
This strategy works well for a few sensors but does not scale well. There is a potential performance penalty because all sensors are subscribed to the same topic. If you have ten sensors, then every payload published by the RF Bridge will be evaluated by all ten sensors. In other words, each payload is processed ten times.
Strategy 2: Demultiplexer
Demultiplexing offers a performance advantage over the previous strategy. It uses an automation to separate (demultiplex) the RF bridge’s single topic into multiple topics, one per sensor. Each sensor is subscribed to its own topic and only receives payloads intended for it.
Unlike the previous strategy where, for ten sensors, each payload is processed ten times, this strategy processes each payload only twice. The payload is initially processed by the automation and then by the sensor.
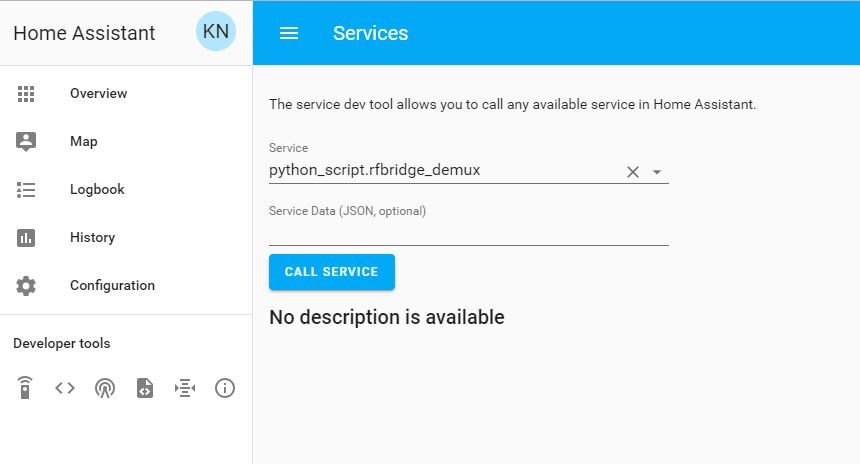
To make this work, you have to configure Home Assistant to use the python_script component. Full instructions can be found in the documentation for the python_script integration. Here are the basic steps:
- Add
python_script:to yourconfiguration.yamlfile. - Create the following sub-directory:
config/python_scripts - Restart Home Assistant.
Create a new file in config/python_scripts called rfbridge_demux.py with the following contents:
d = { '2C8D0A':['sensor1','ON','true'],
      '2C8D0E':['sensor1','OFF','true'],
      'E5D30E':['sensor2','ON','false'],
      '30D8A0':['sensor3','ON','false']
    }

p = str(data.get('payload'))

if p is not None:
  if p in d.keys():
    service_data = {'topic':'home/{}'.format(d[p][0]), 'payload':'{}'.format(d[p][1]), 'qos':0, 'retain':'{}'.format(d[p][2])}
  else:
    service_data = {'topic':'home/unknown', 'payload':'{}'.format(p), 'qos':0, 'retain':'false'}
    logger.warning('<rfbridge_demux> Received unknown RF command: {}'.format(p))
  hass.services.call('mqtt', 'publish', service_data, False)
Obviously you will have to modify the dictionary (d) so it contains your RF bridge’s commands. The format of each item in the dictionary is straightforward:
'payload':['topic','state','retain']
Because we are using a python_script, you can add sensors to the dictionary without having to restart Home Assistant. The dictionary is designed so you can specify if the sensor’s topic should have its payloads retained or not.
-
Because the door sensor reports both of its states, the automation can use
retain: truewhen publishing to the contact sensor’s topic. When Home Assistant restarts, it will re-subscribe to the contact sensor topic’s and receive its current (retained) state from the broker.
-
The other two sensors (motion sensor and button) don’t report their
offstate. We use theoff_delayoption to automatically reset them tooff. However, this technique does not publishoffto their respective MQTT topic (i.e. once set toonthe topic will always showon). Therefore the automation should publish to their topics usingretain: false. Otherwise,if usingretain: true, when you restart Home Assistant, it would erroneously set these sensors toon.
Here’s the required automation. Don’t forget to change topic: to the topic you configured for your RF Bridge.
- alias: 'rfbridge_demultiplexer'
  trigger:
  - platform: mqtt
    topic: tele/RF_Bridge/RESULT
  action:
  - service: python_script.rfbridge_demux
    data_template:
      payload: '{{trigger.payload_json.RfReceived.Data}}'
Configuring the binary sensors becomes an easy task. No value_template is needed.
  - platform: mqtt
    name: 'Bathroom Door'
    state_topic: 'home/sensor1'
    device_class: door

  - platform: mqtt
    name: 'Hallway Motion'
    state_topic: 'home/sensor2'
    off_delay: 5
    device_class: motion

  - platform: mqtt
    name: 'Button1'
    state_topic: 'home/sensor3'
    off_delay: 1
NOTE
If you use Strategy 2 and have more than one RF Bridge, you can simply configure all of them to publish to the same topic. Alternatively, assign a unique topic to each one then, in automation.rfbridge_demultiplexer, create an MQTT Trigger for each topic.
EDIT
If you wish to use Node-Red to perform the task of demultiplexing (instead of the suggested python_script) a suitable function node is provided here.
EDIT
Minor revisions to the instructions for configuring the python_script integration.
EDIT
In the python_script, changed this:
p = data.get('payload')
to this:
p = str(data.get('payload'))
in order to accommodate to 0.118’s automatic type conversion where numeric strings are automatically converted to integers.
EDIT 2025-07-26
There is now a modernized version of the demultiplexer automation available in this post. It does not need the python_script automation so it’s easier to create and maintain.